
Planning your Product Photoshoot

The planning and preparation are possibly the most important parts of a product shoot. The more time spent preparing, the better! It is always best to get your photoshoot booked in at least one month in advance so your photographer has plenty of time for planning too. Here are a few steps you can take to make sure you get the best possible results from your shoot, and a gallery of images that do the hard work for you.
Research and Inspiration
First things first, do your research. Have a look through your photographers portfolio, have a browse through Pinterest and Instagram and find any images that you like the style of or have a similar look to what you are hoping to achieve. You can also search for other product photographers, and other companies selling similar products to yours. Consider whether you want minimal, clean, e-commerce style shots, colourful styled shots or would you like to take a lifestyle approach? Gather a few images you like the style of for inspiration and have a go at creating your own mood board. Your photographer will create a collaborative mood board to work with you on, but it doesn’t hurt to have your own too!
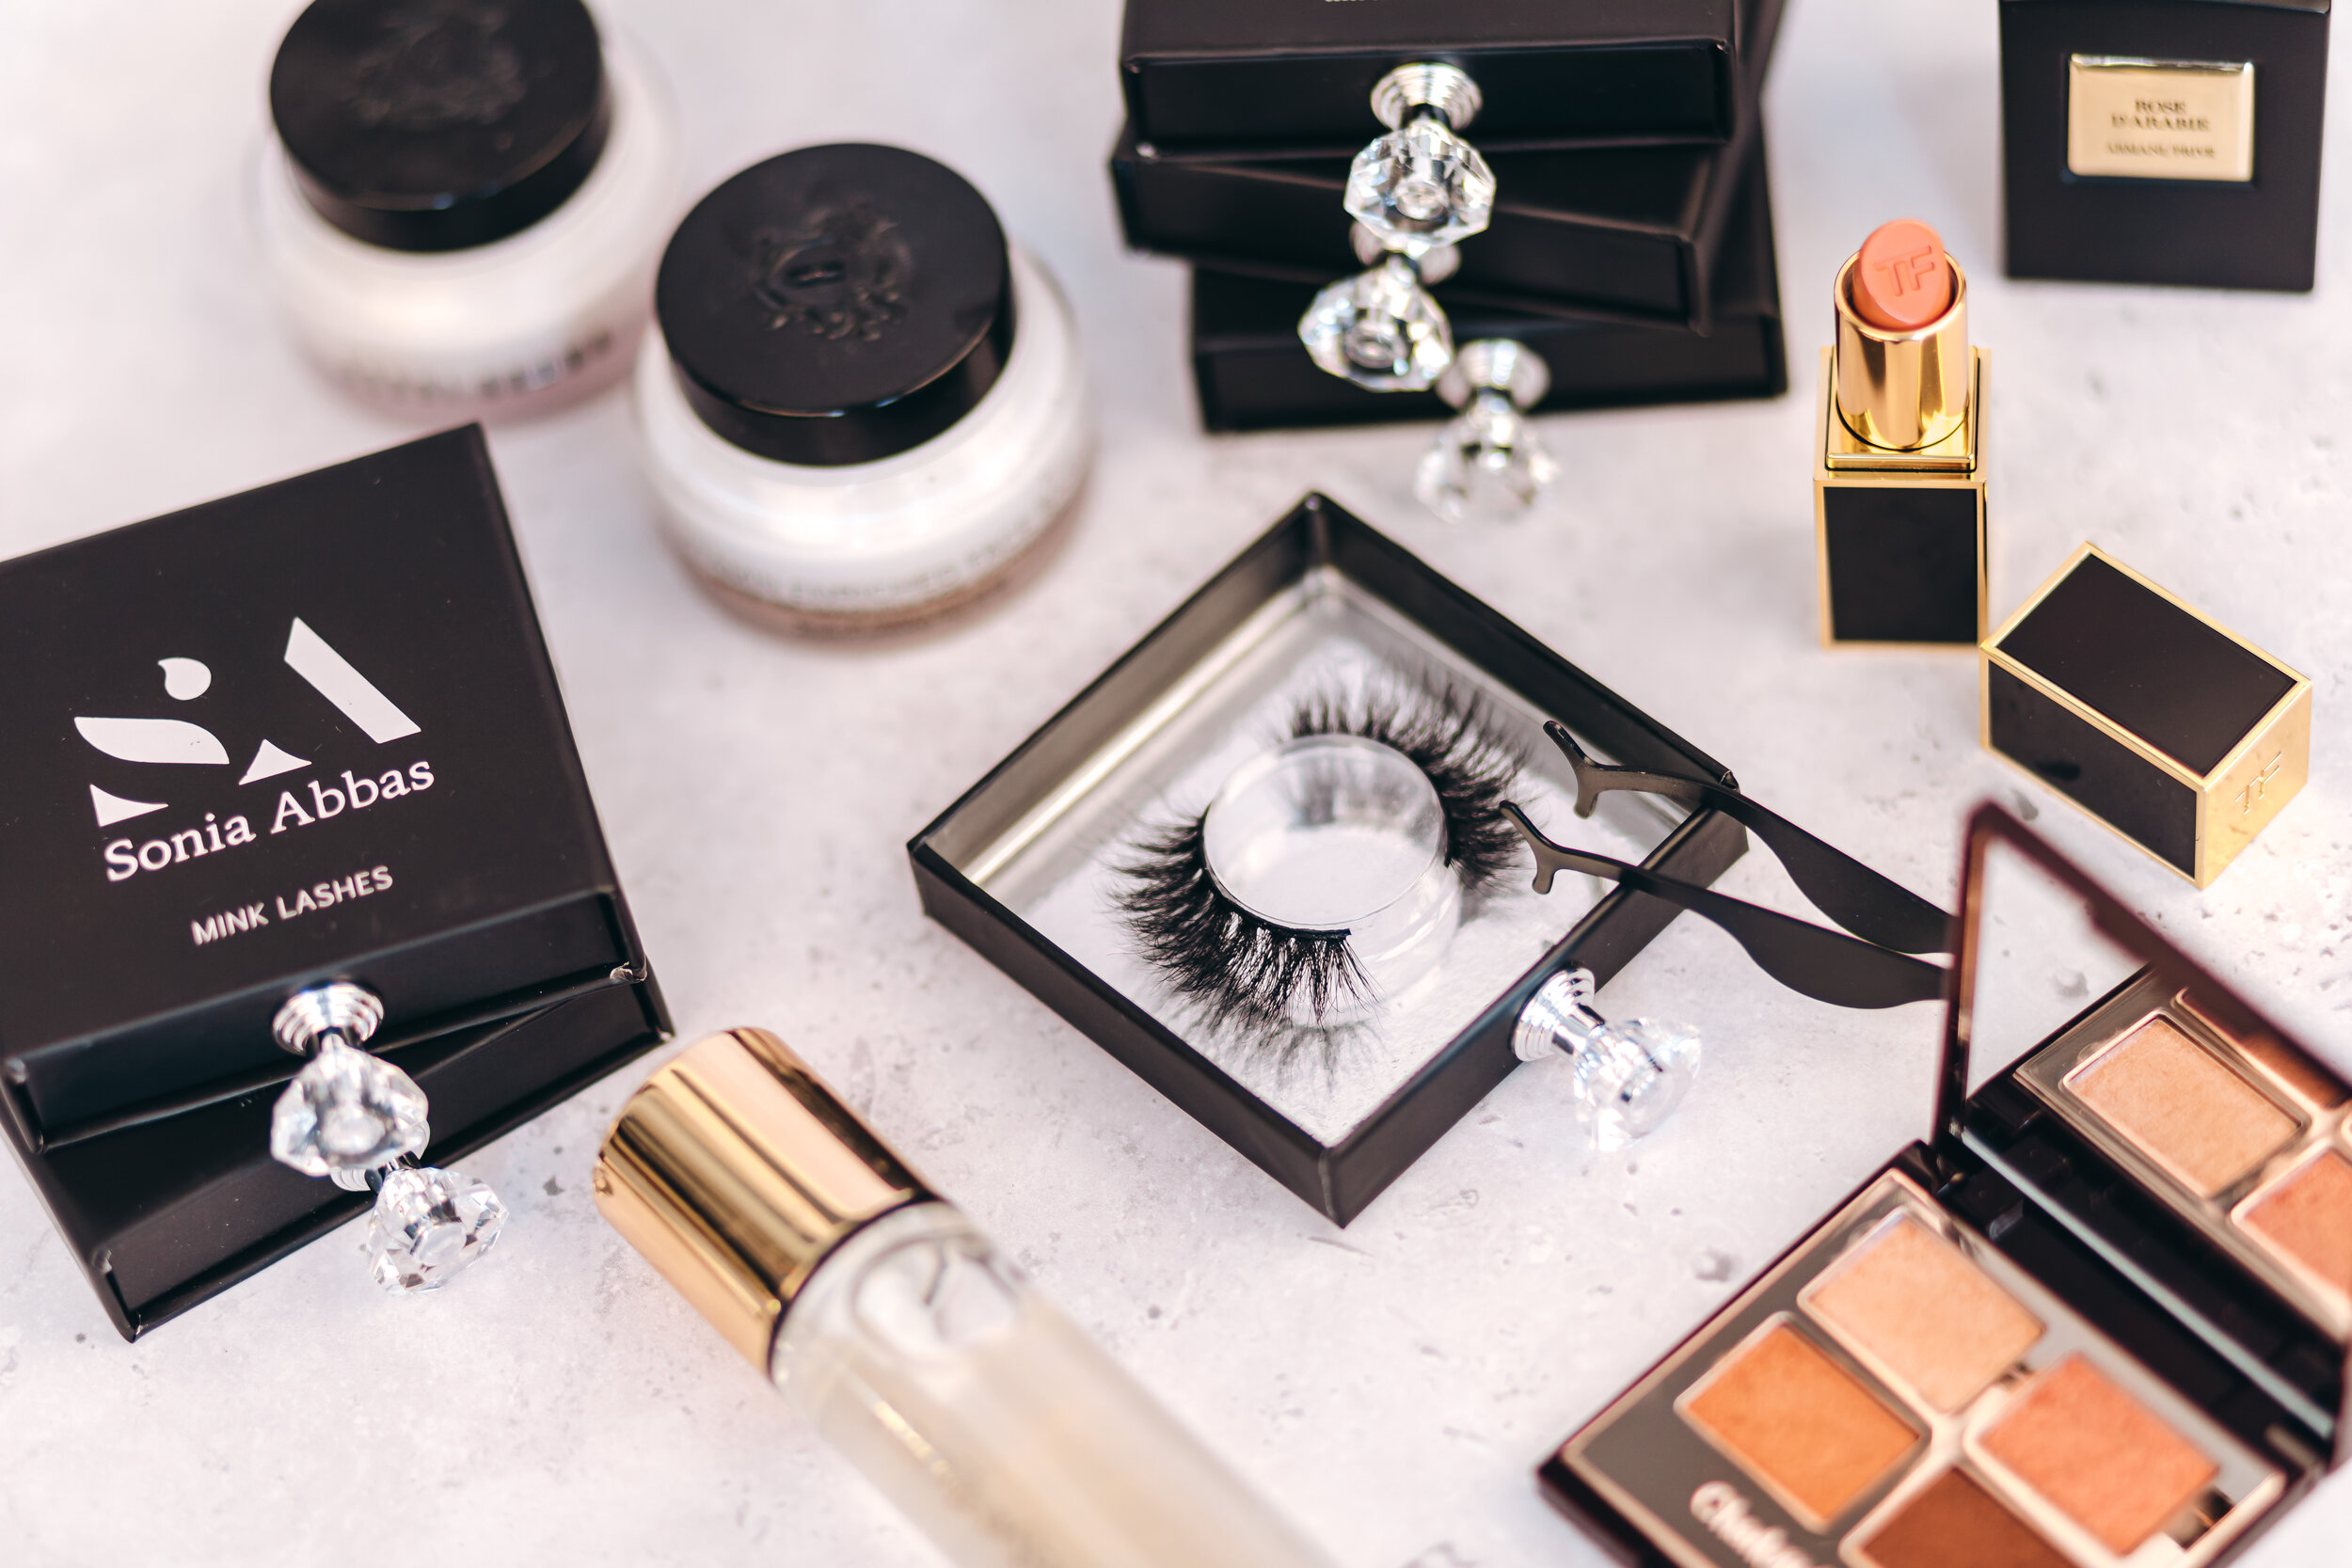
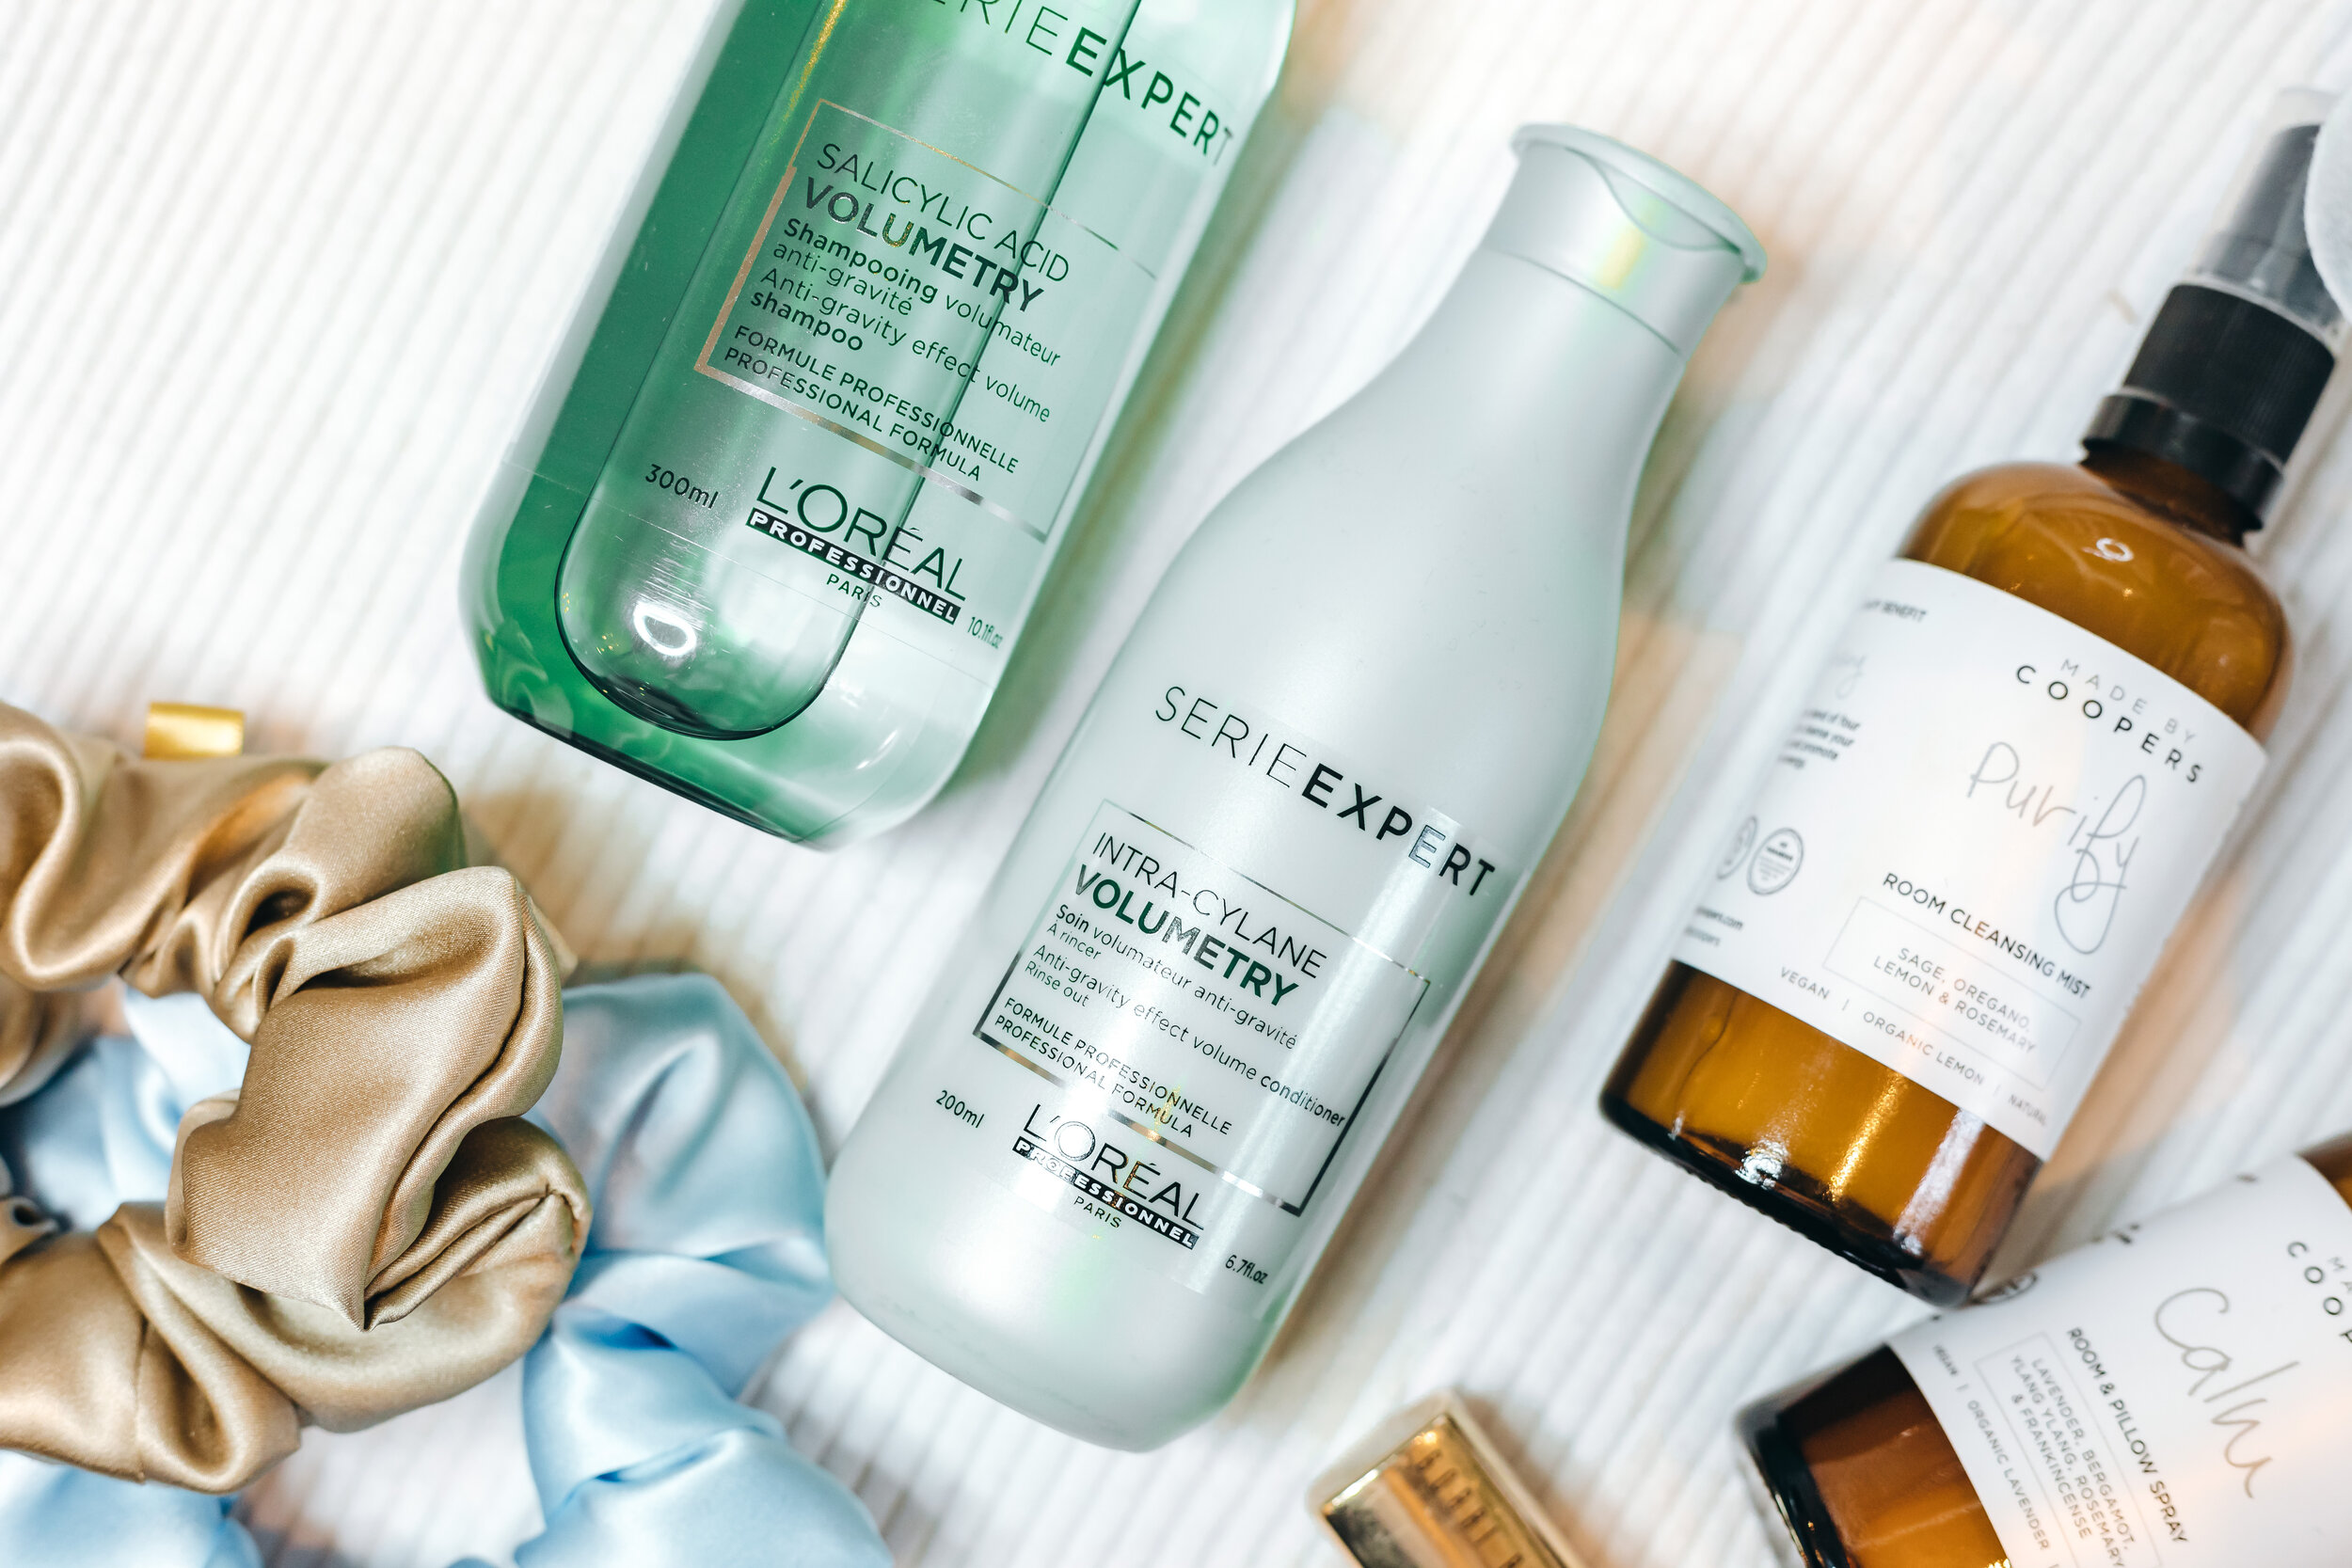
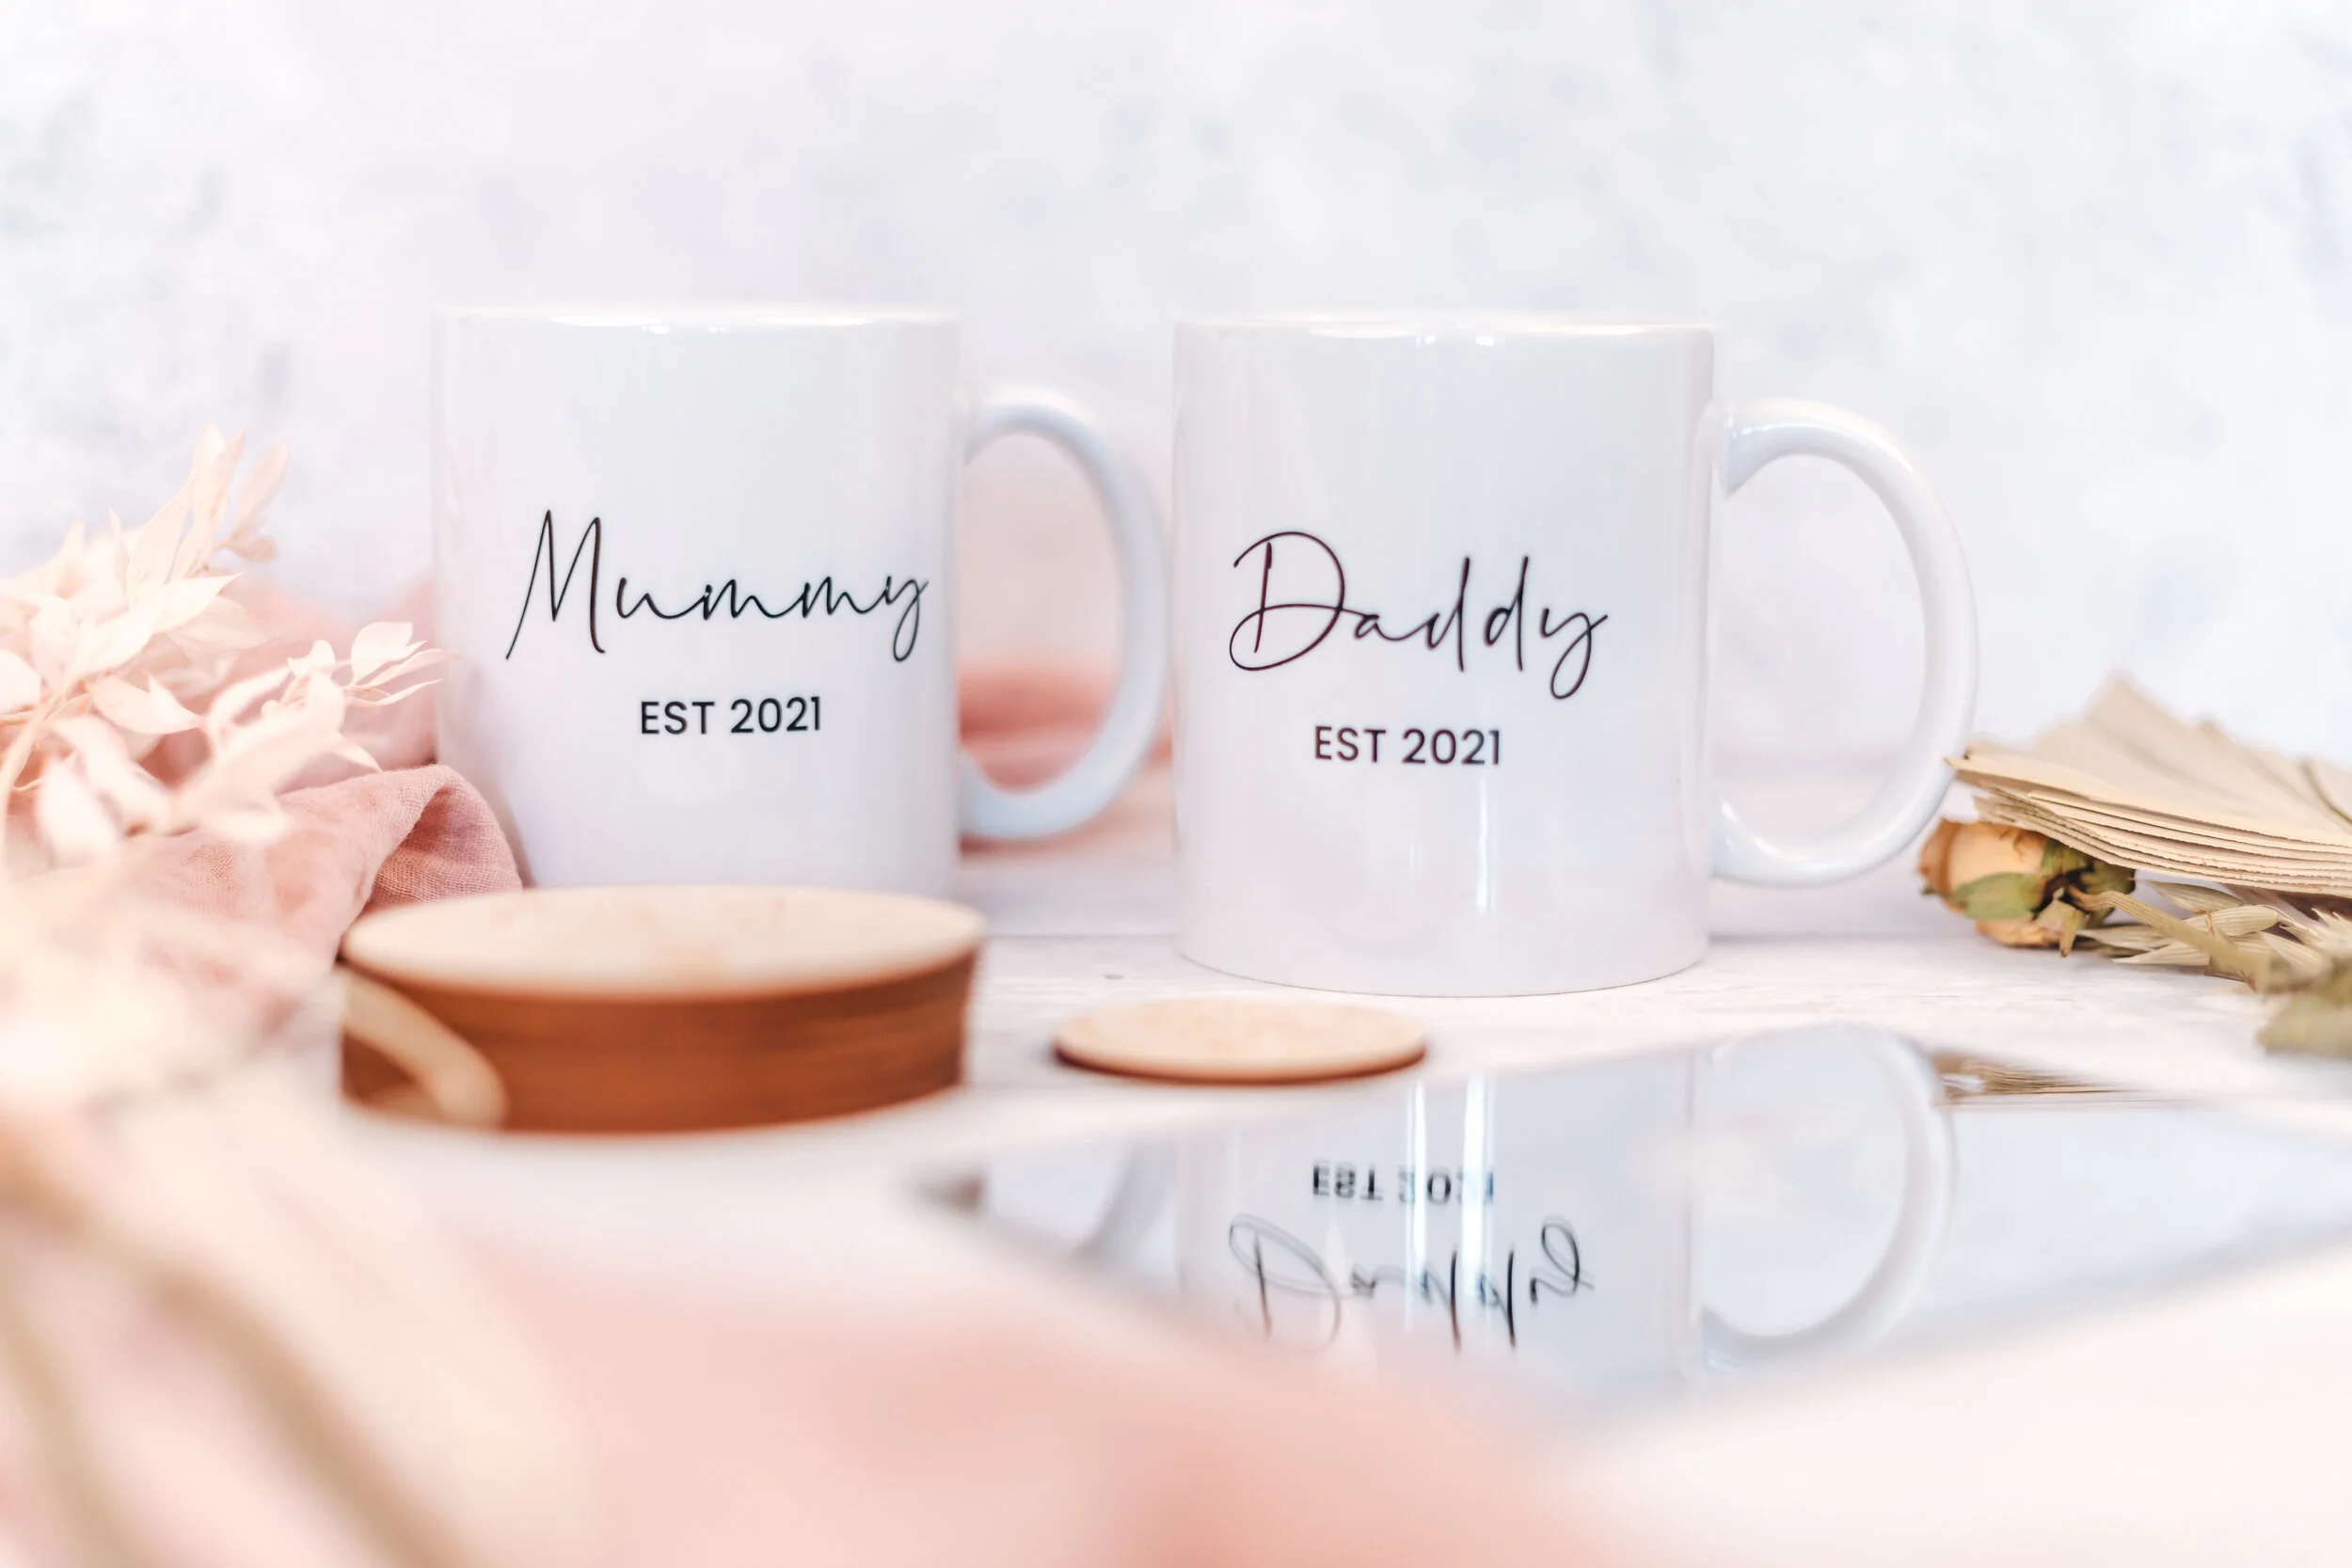
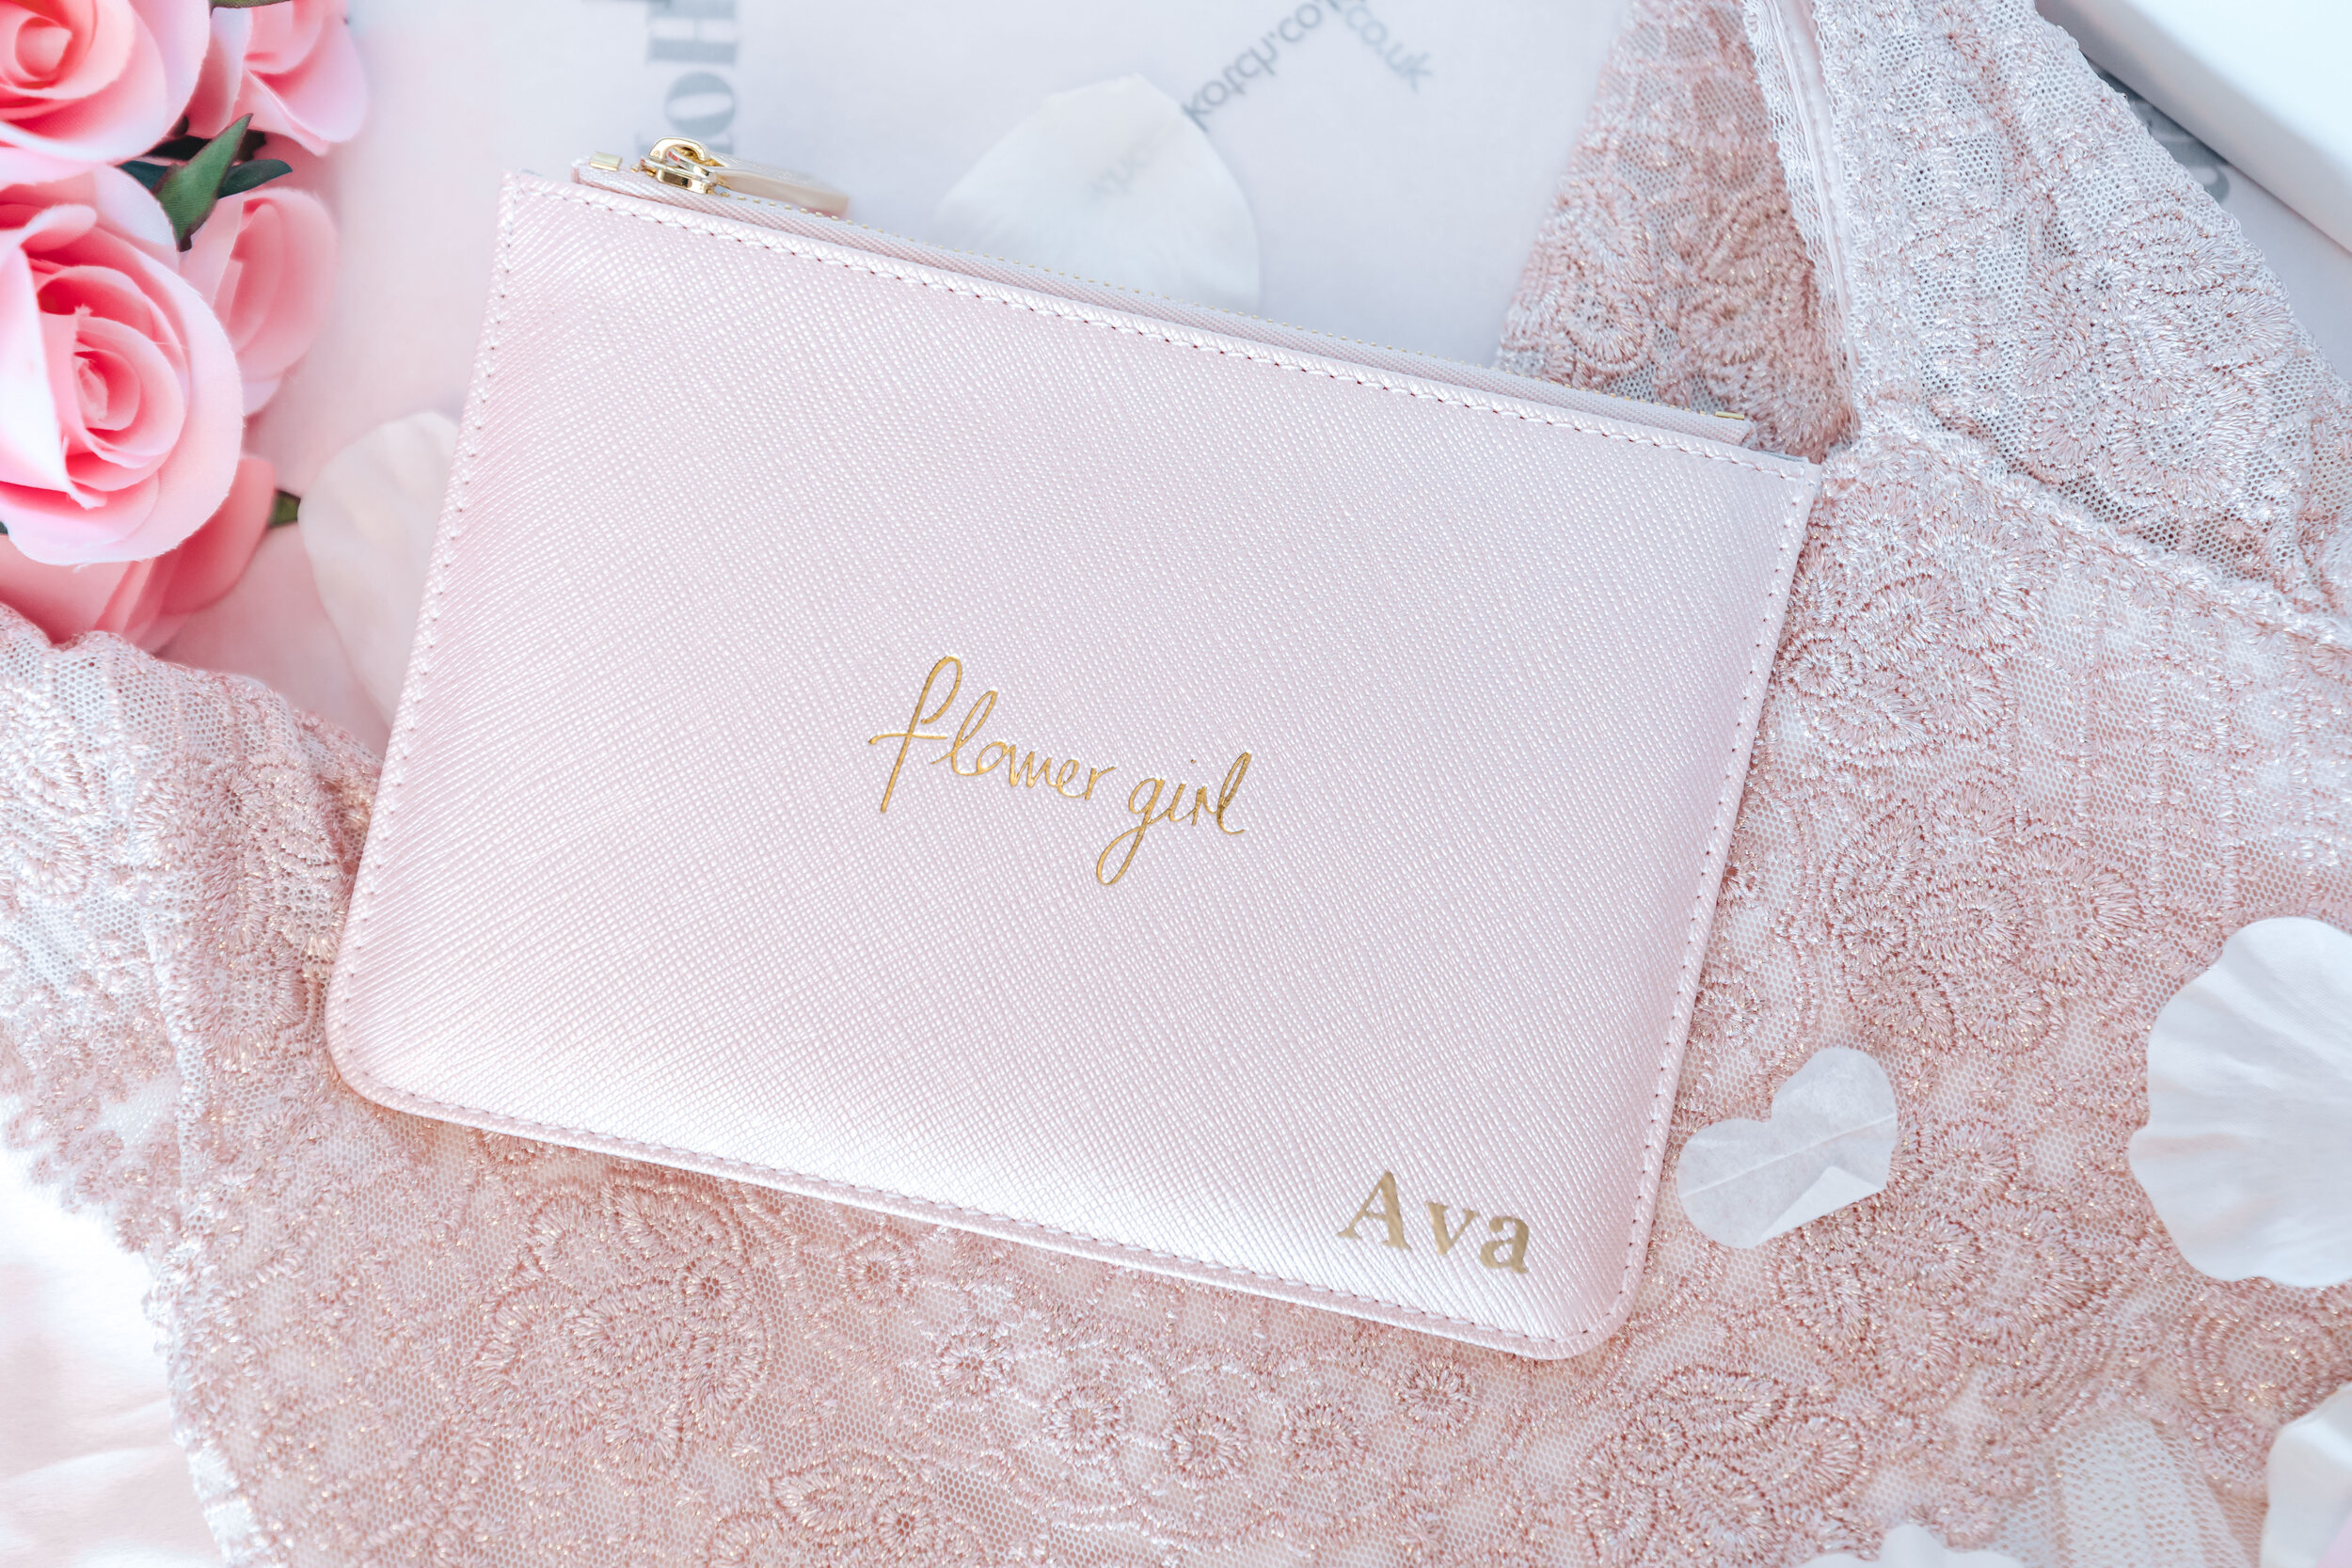
Props
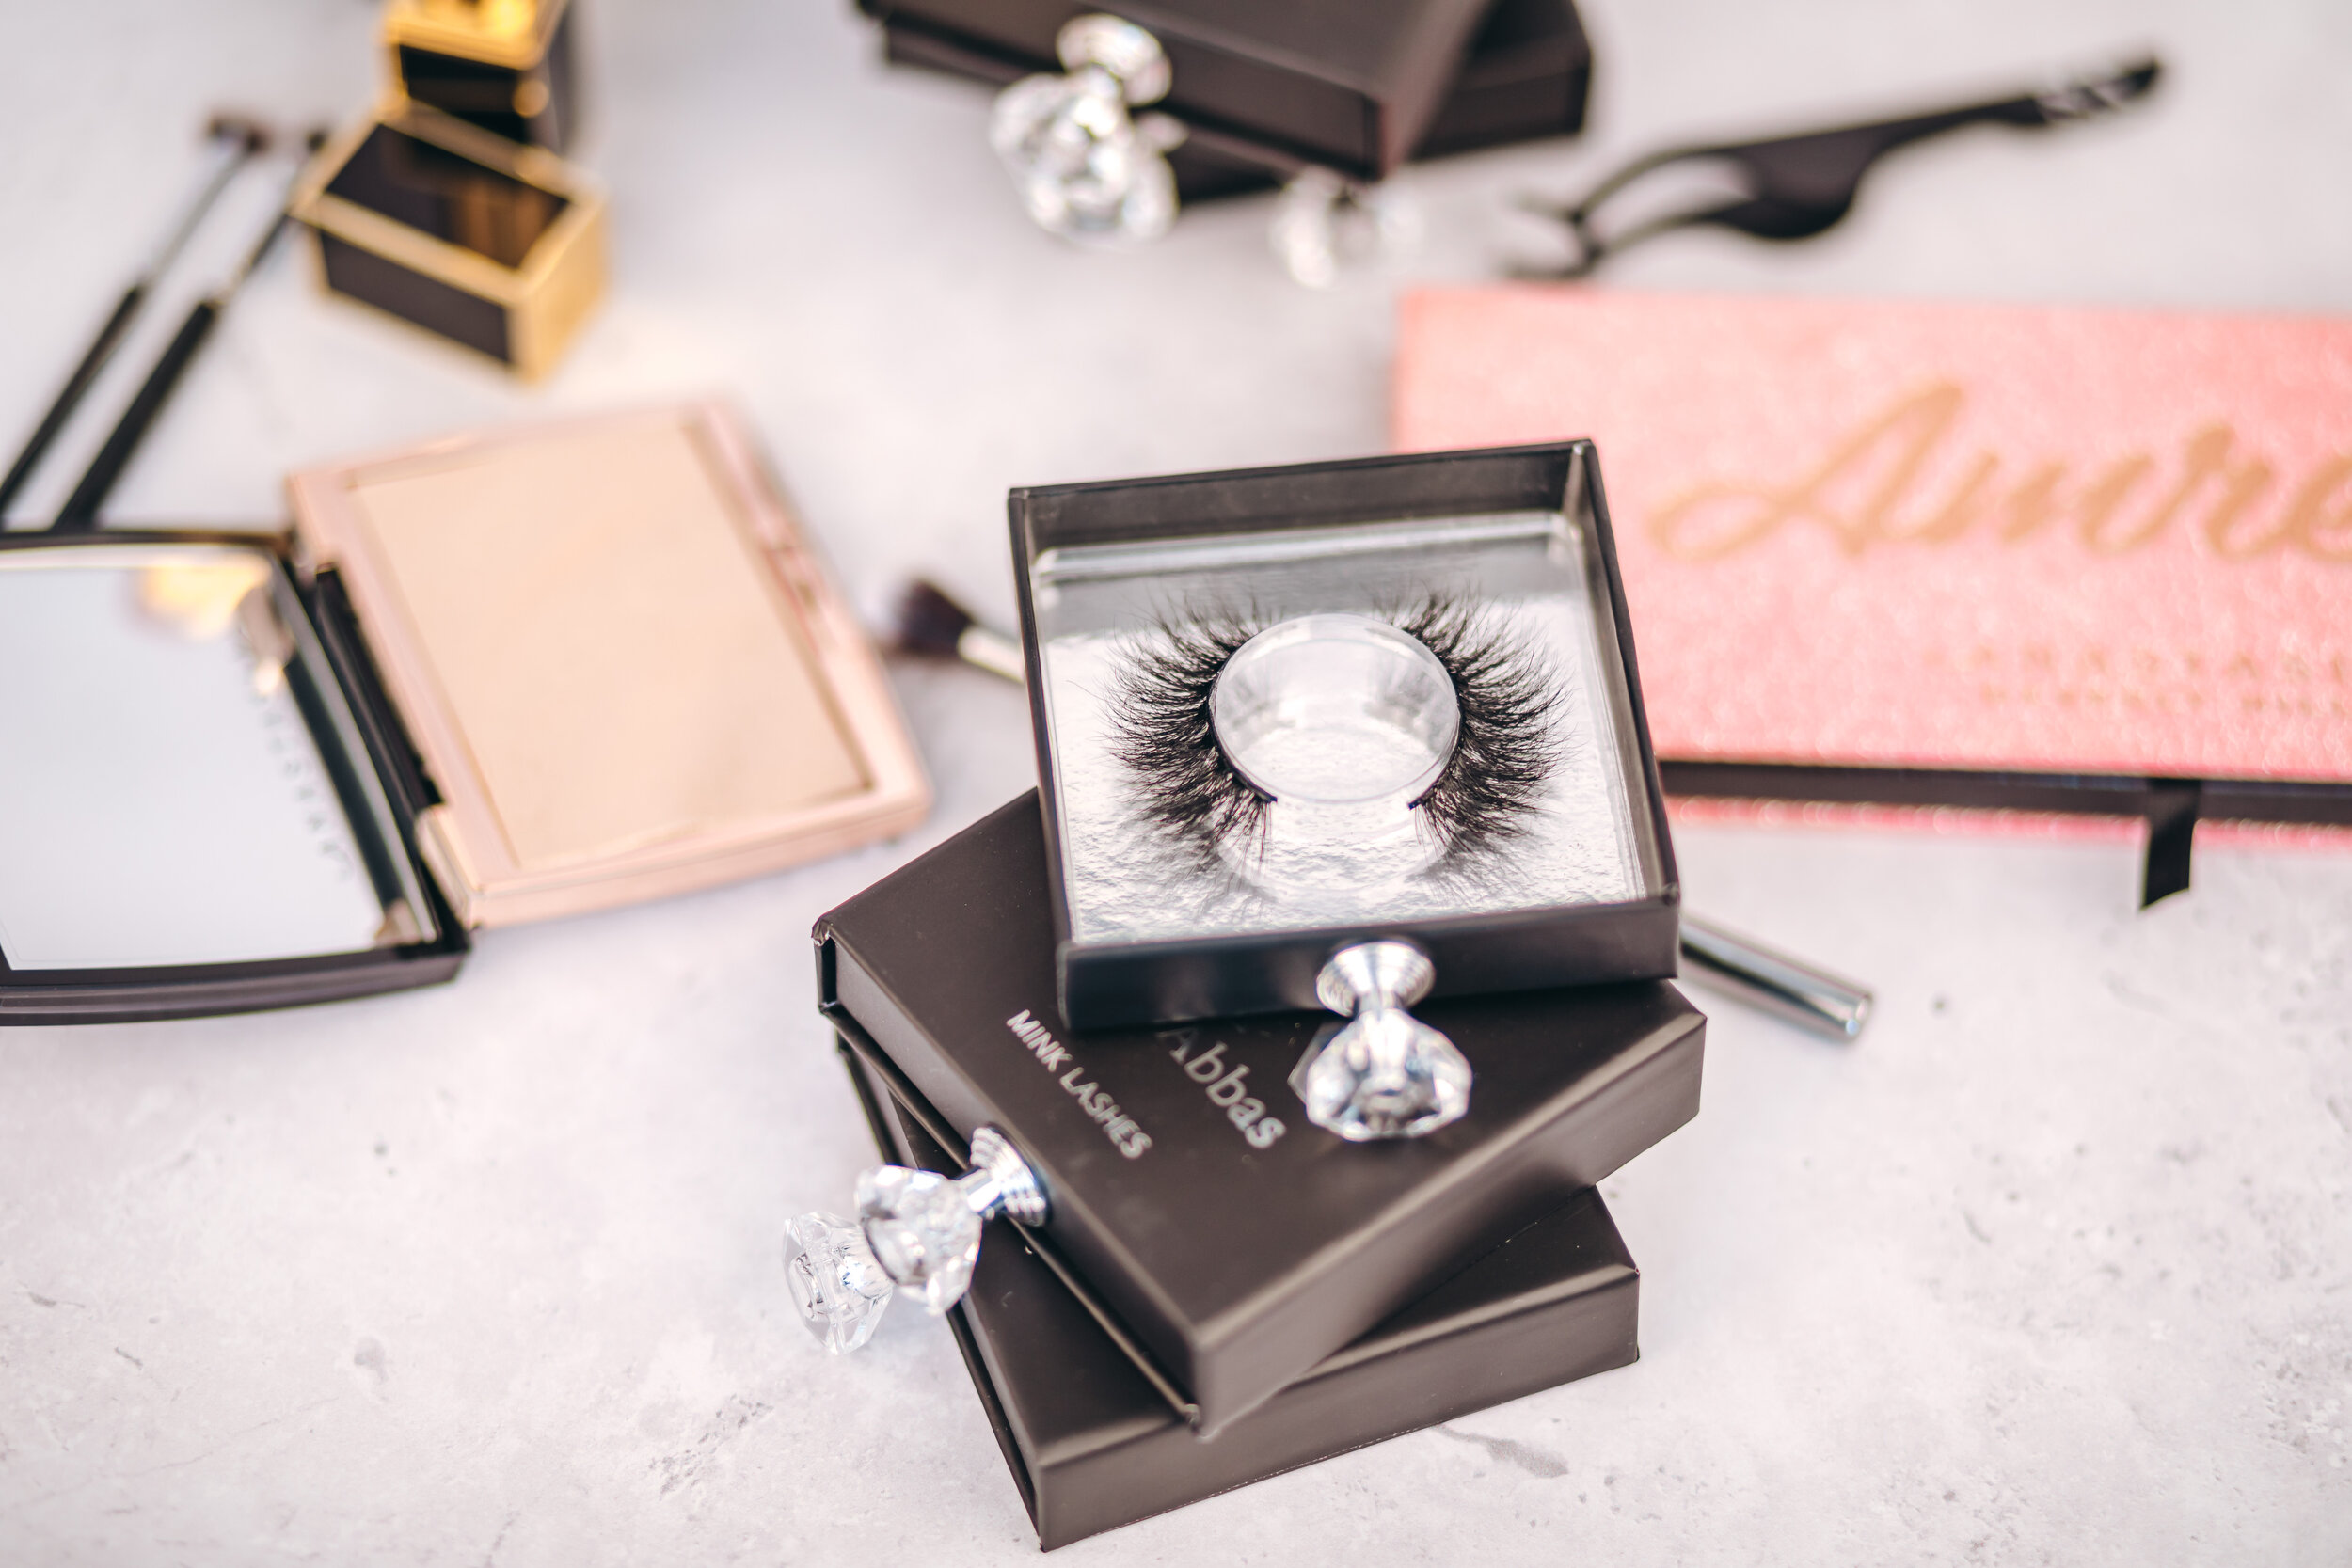
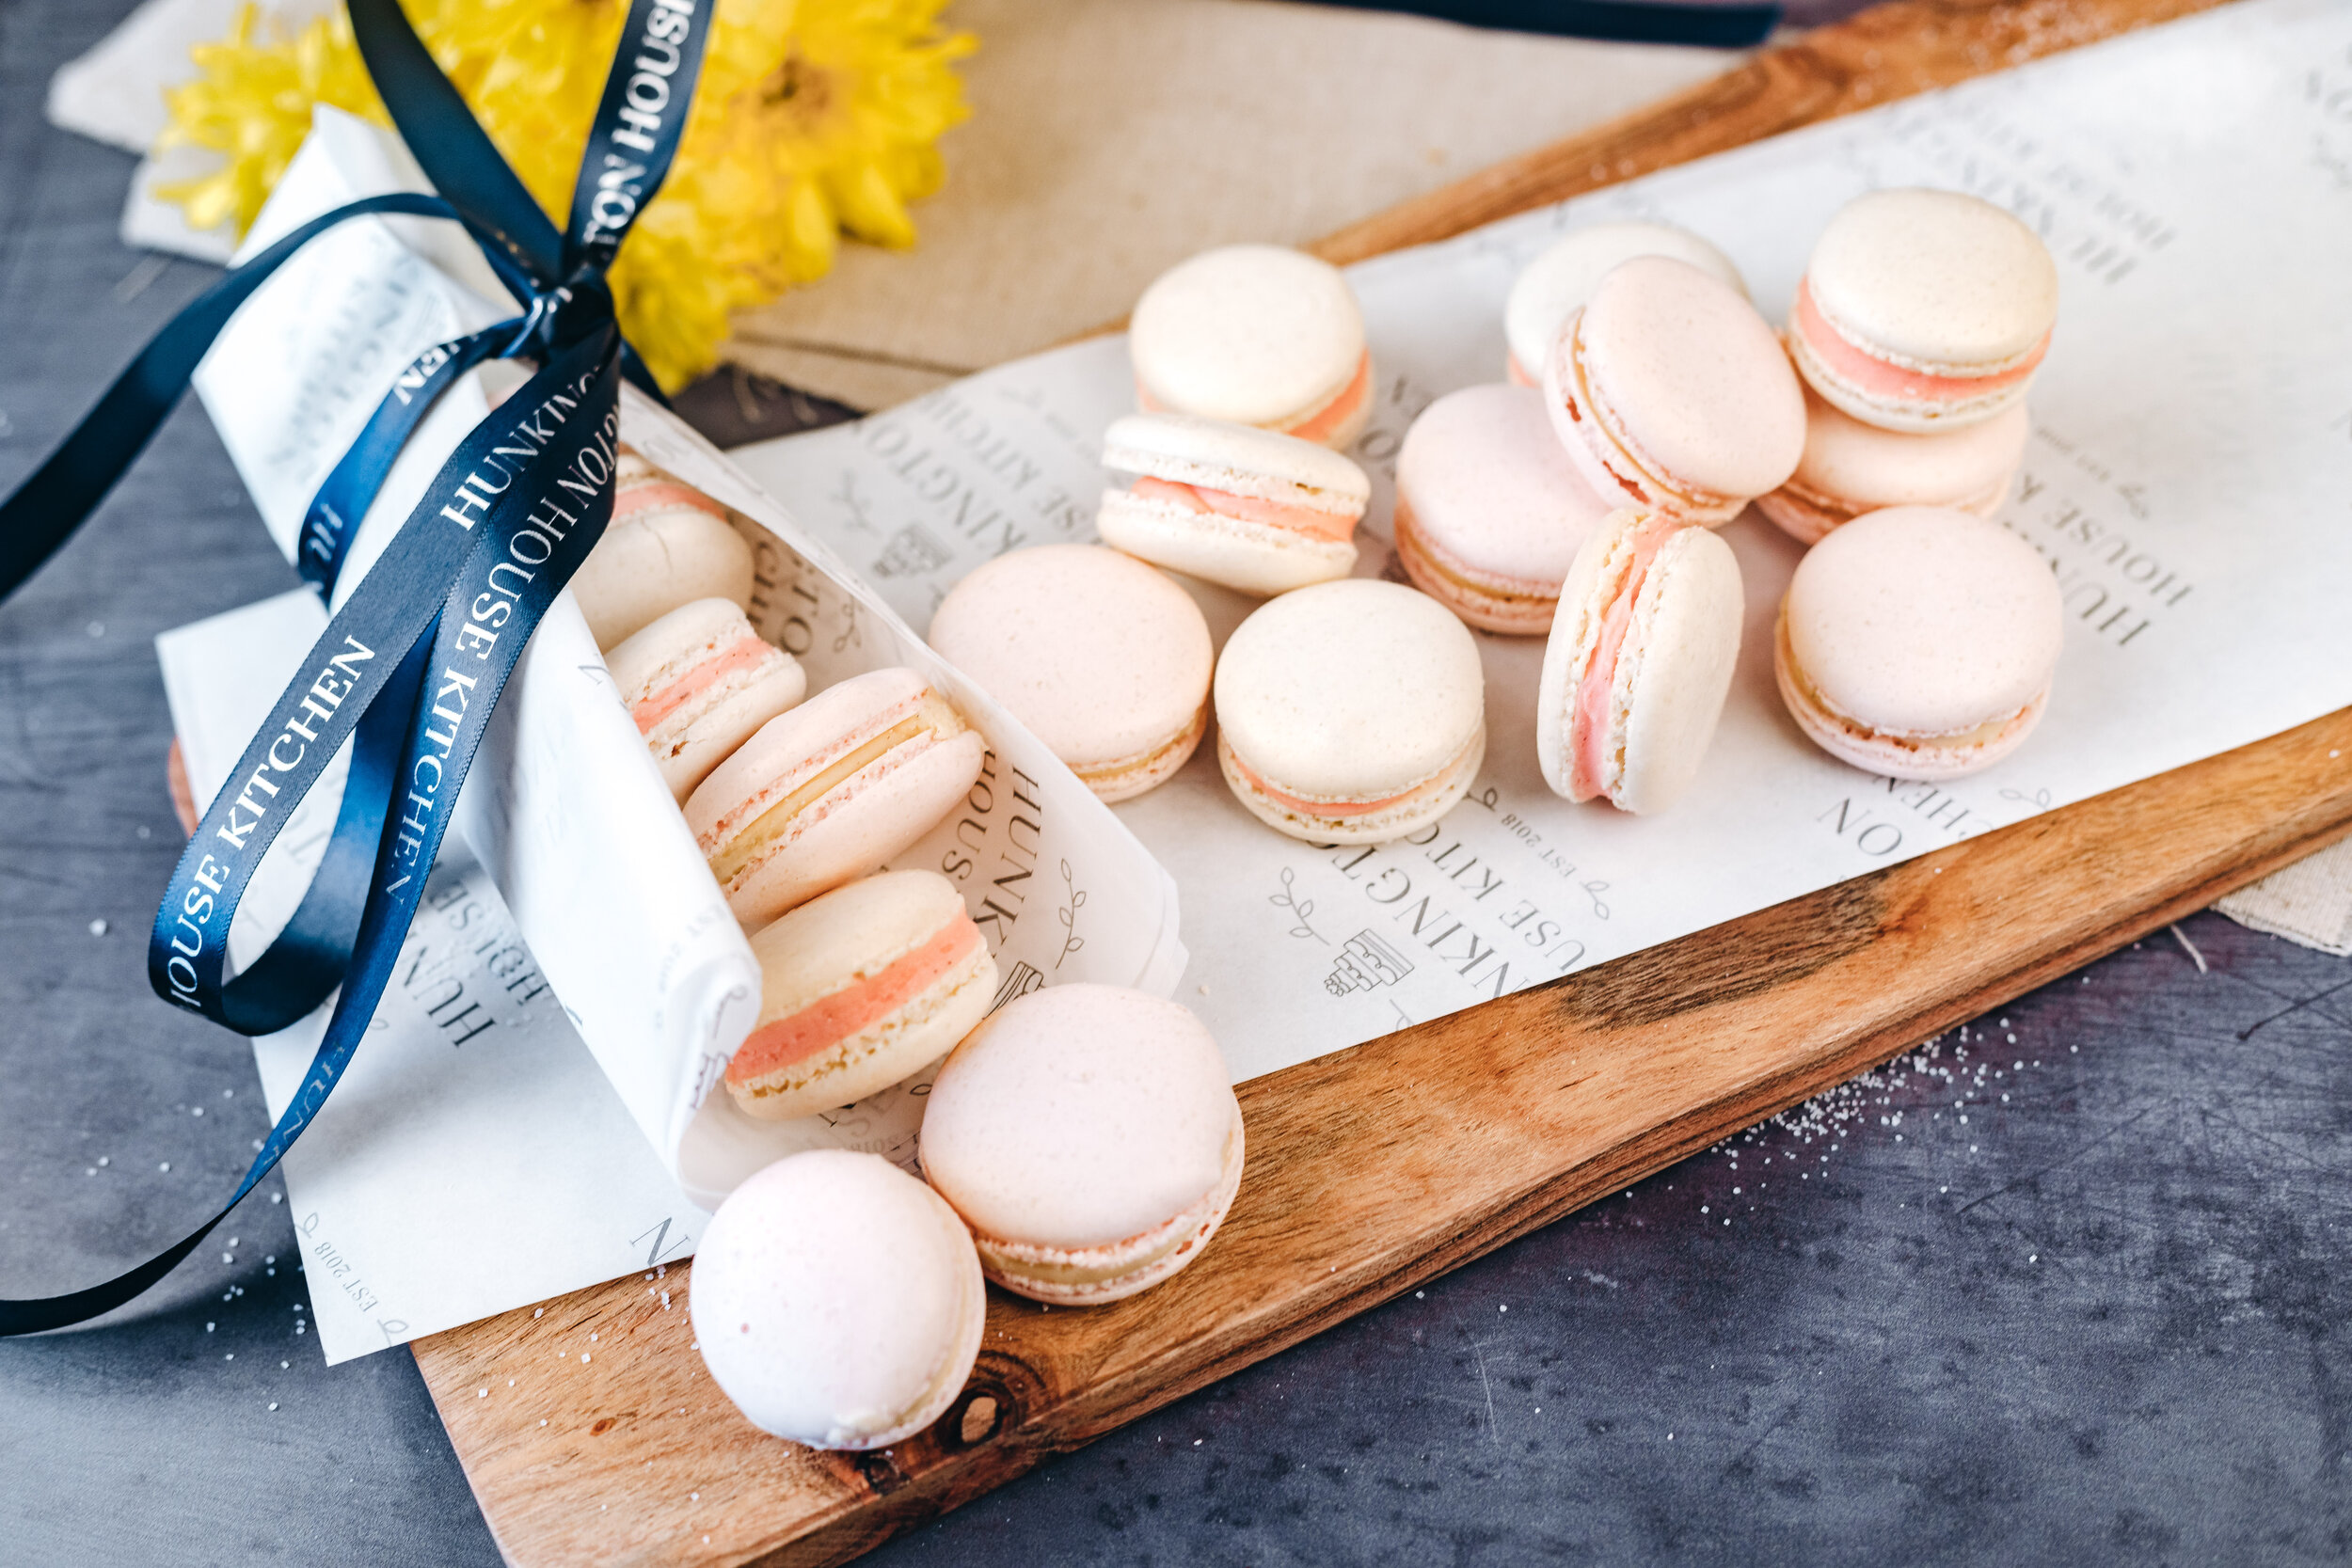
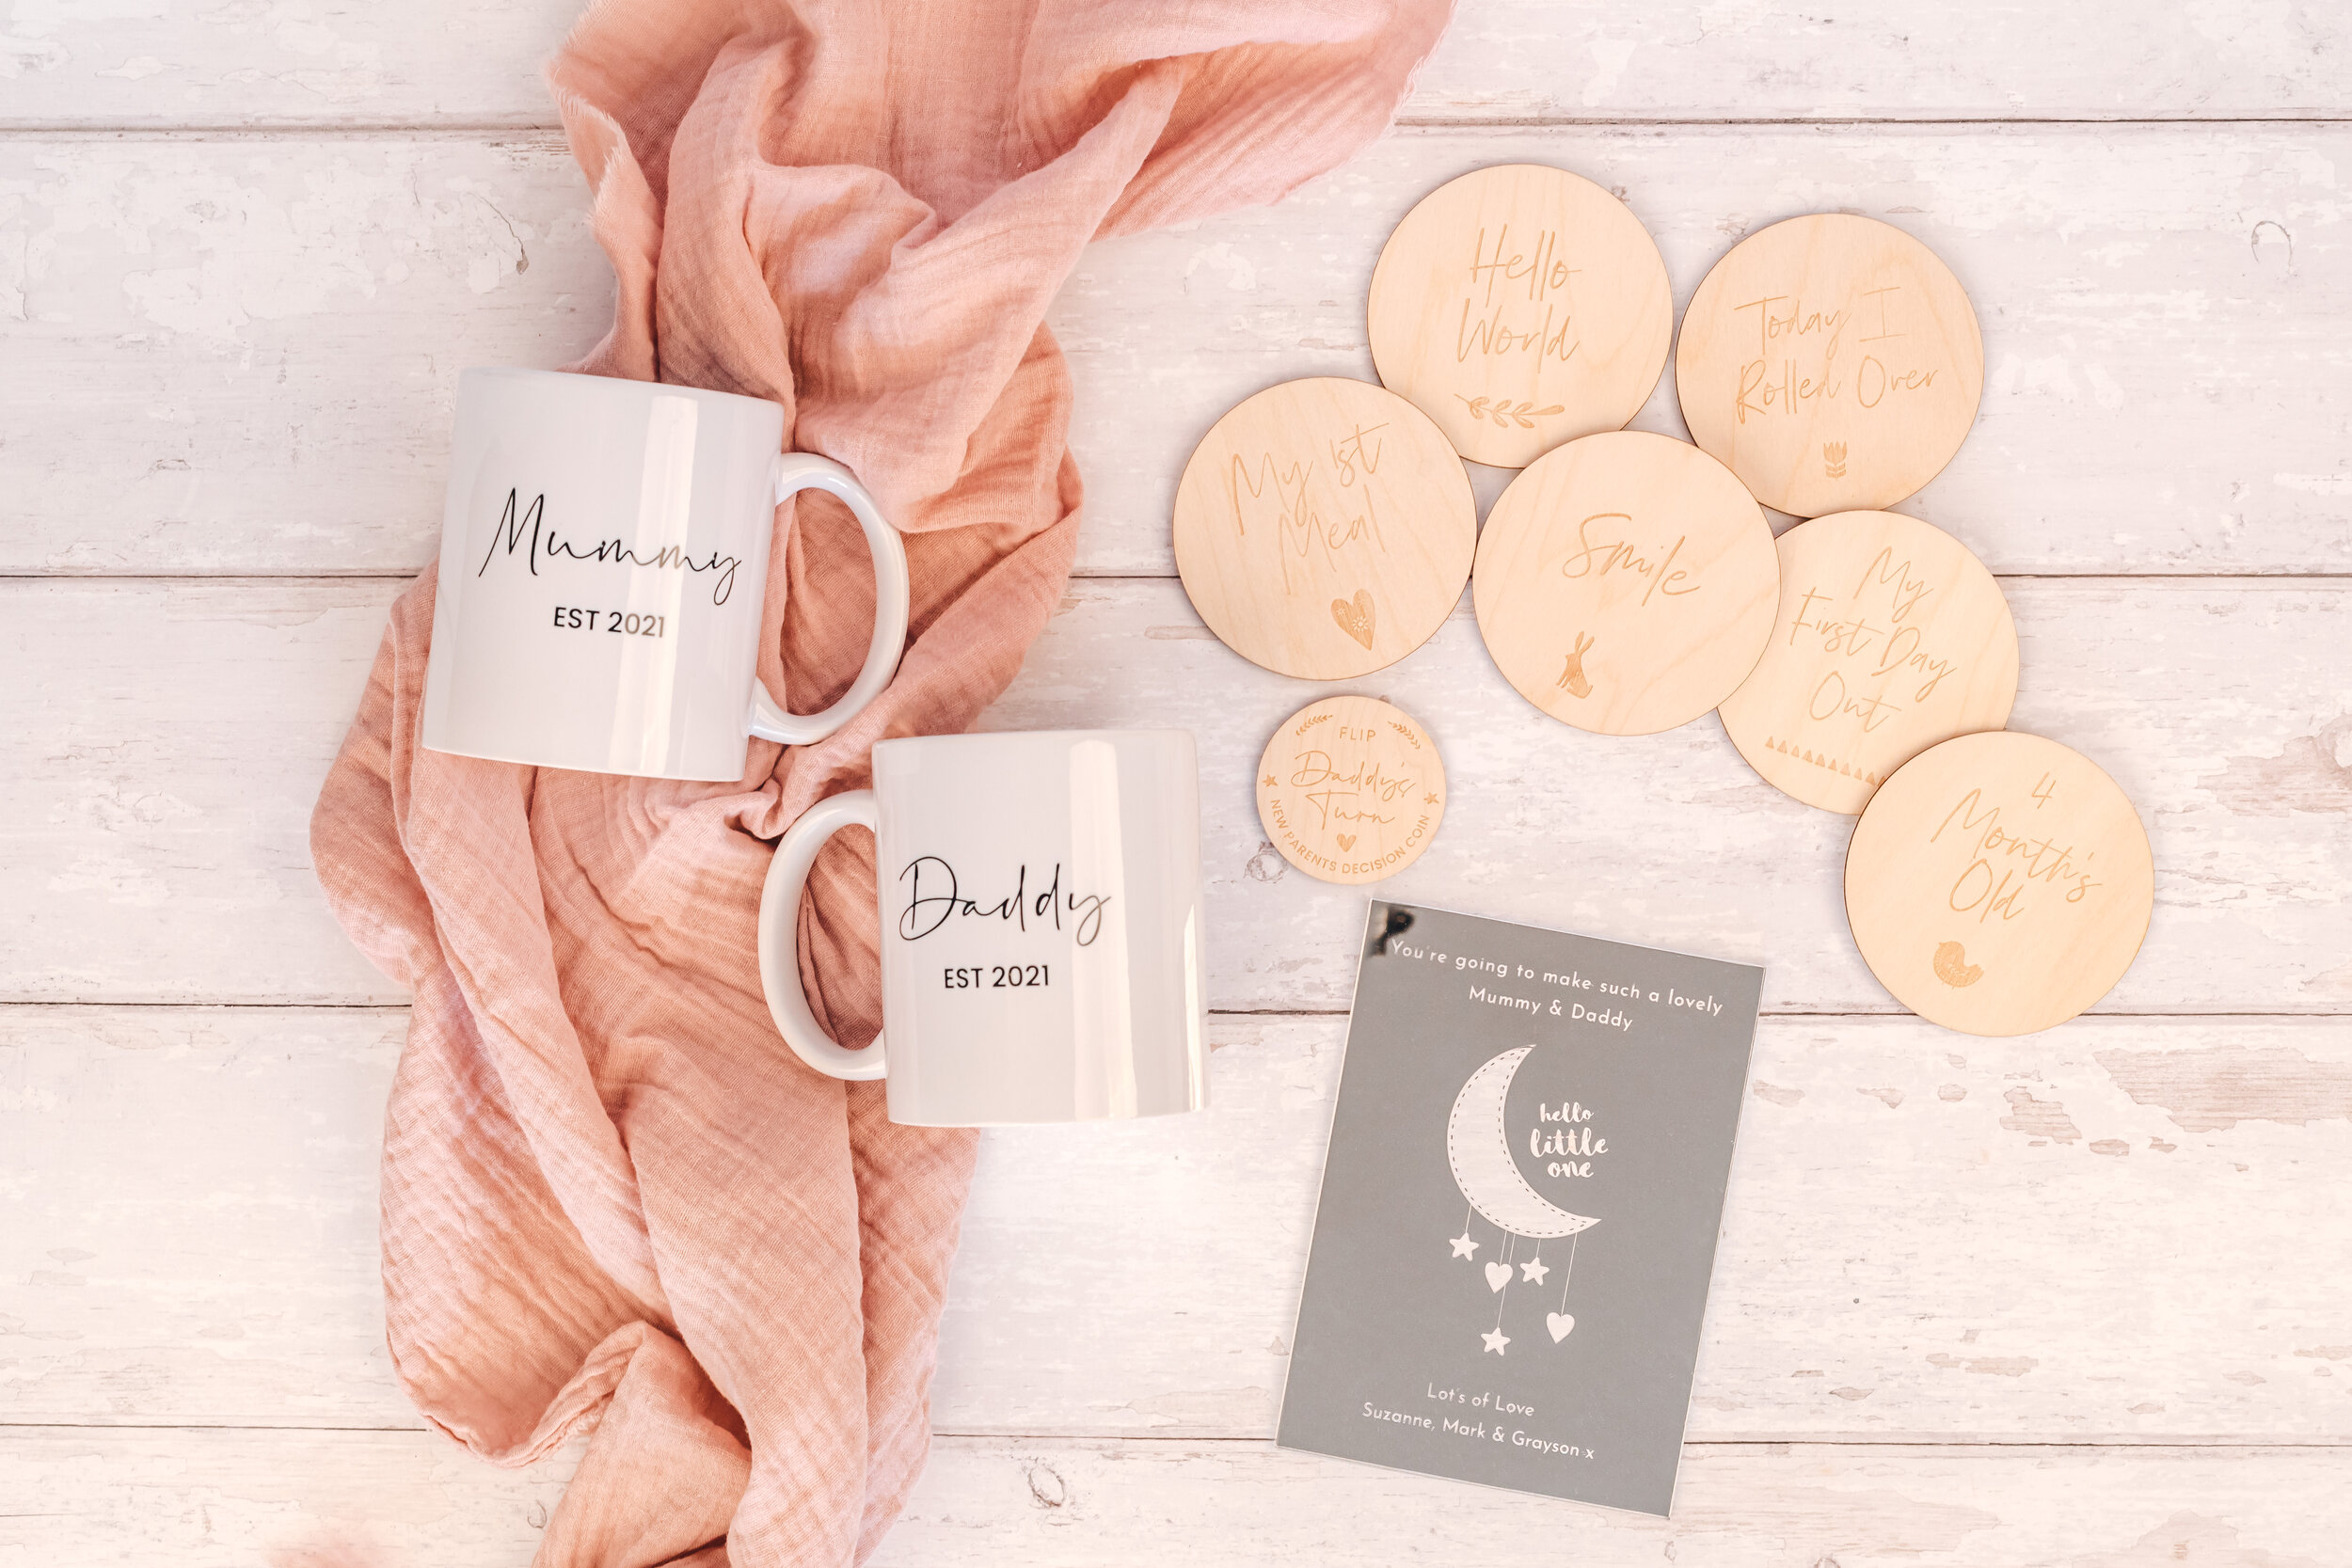
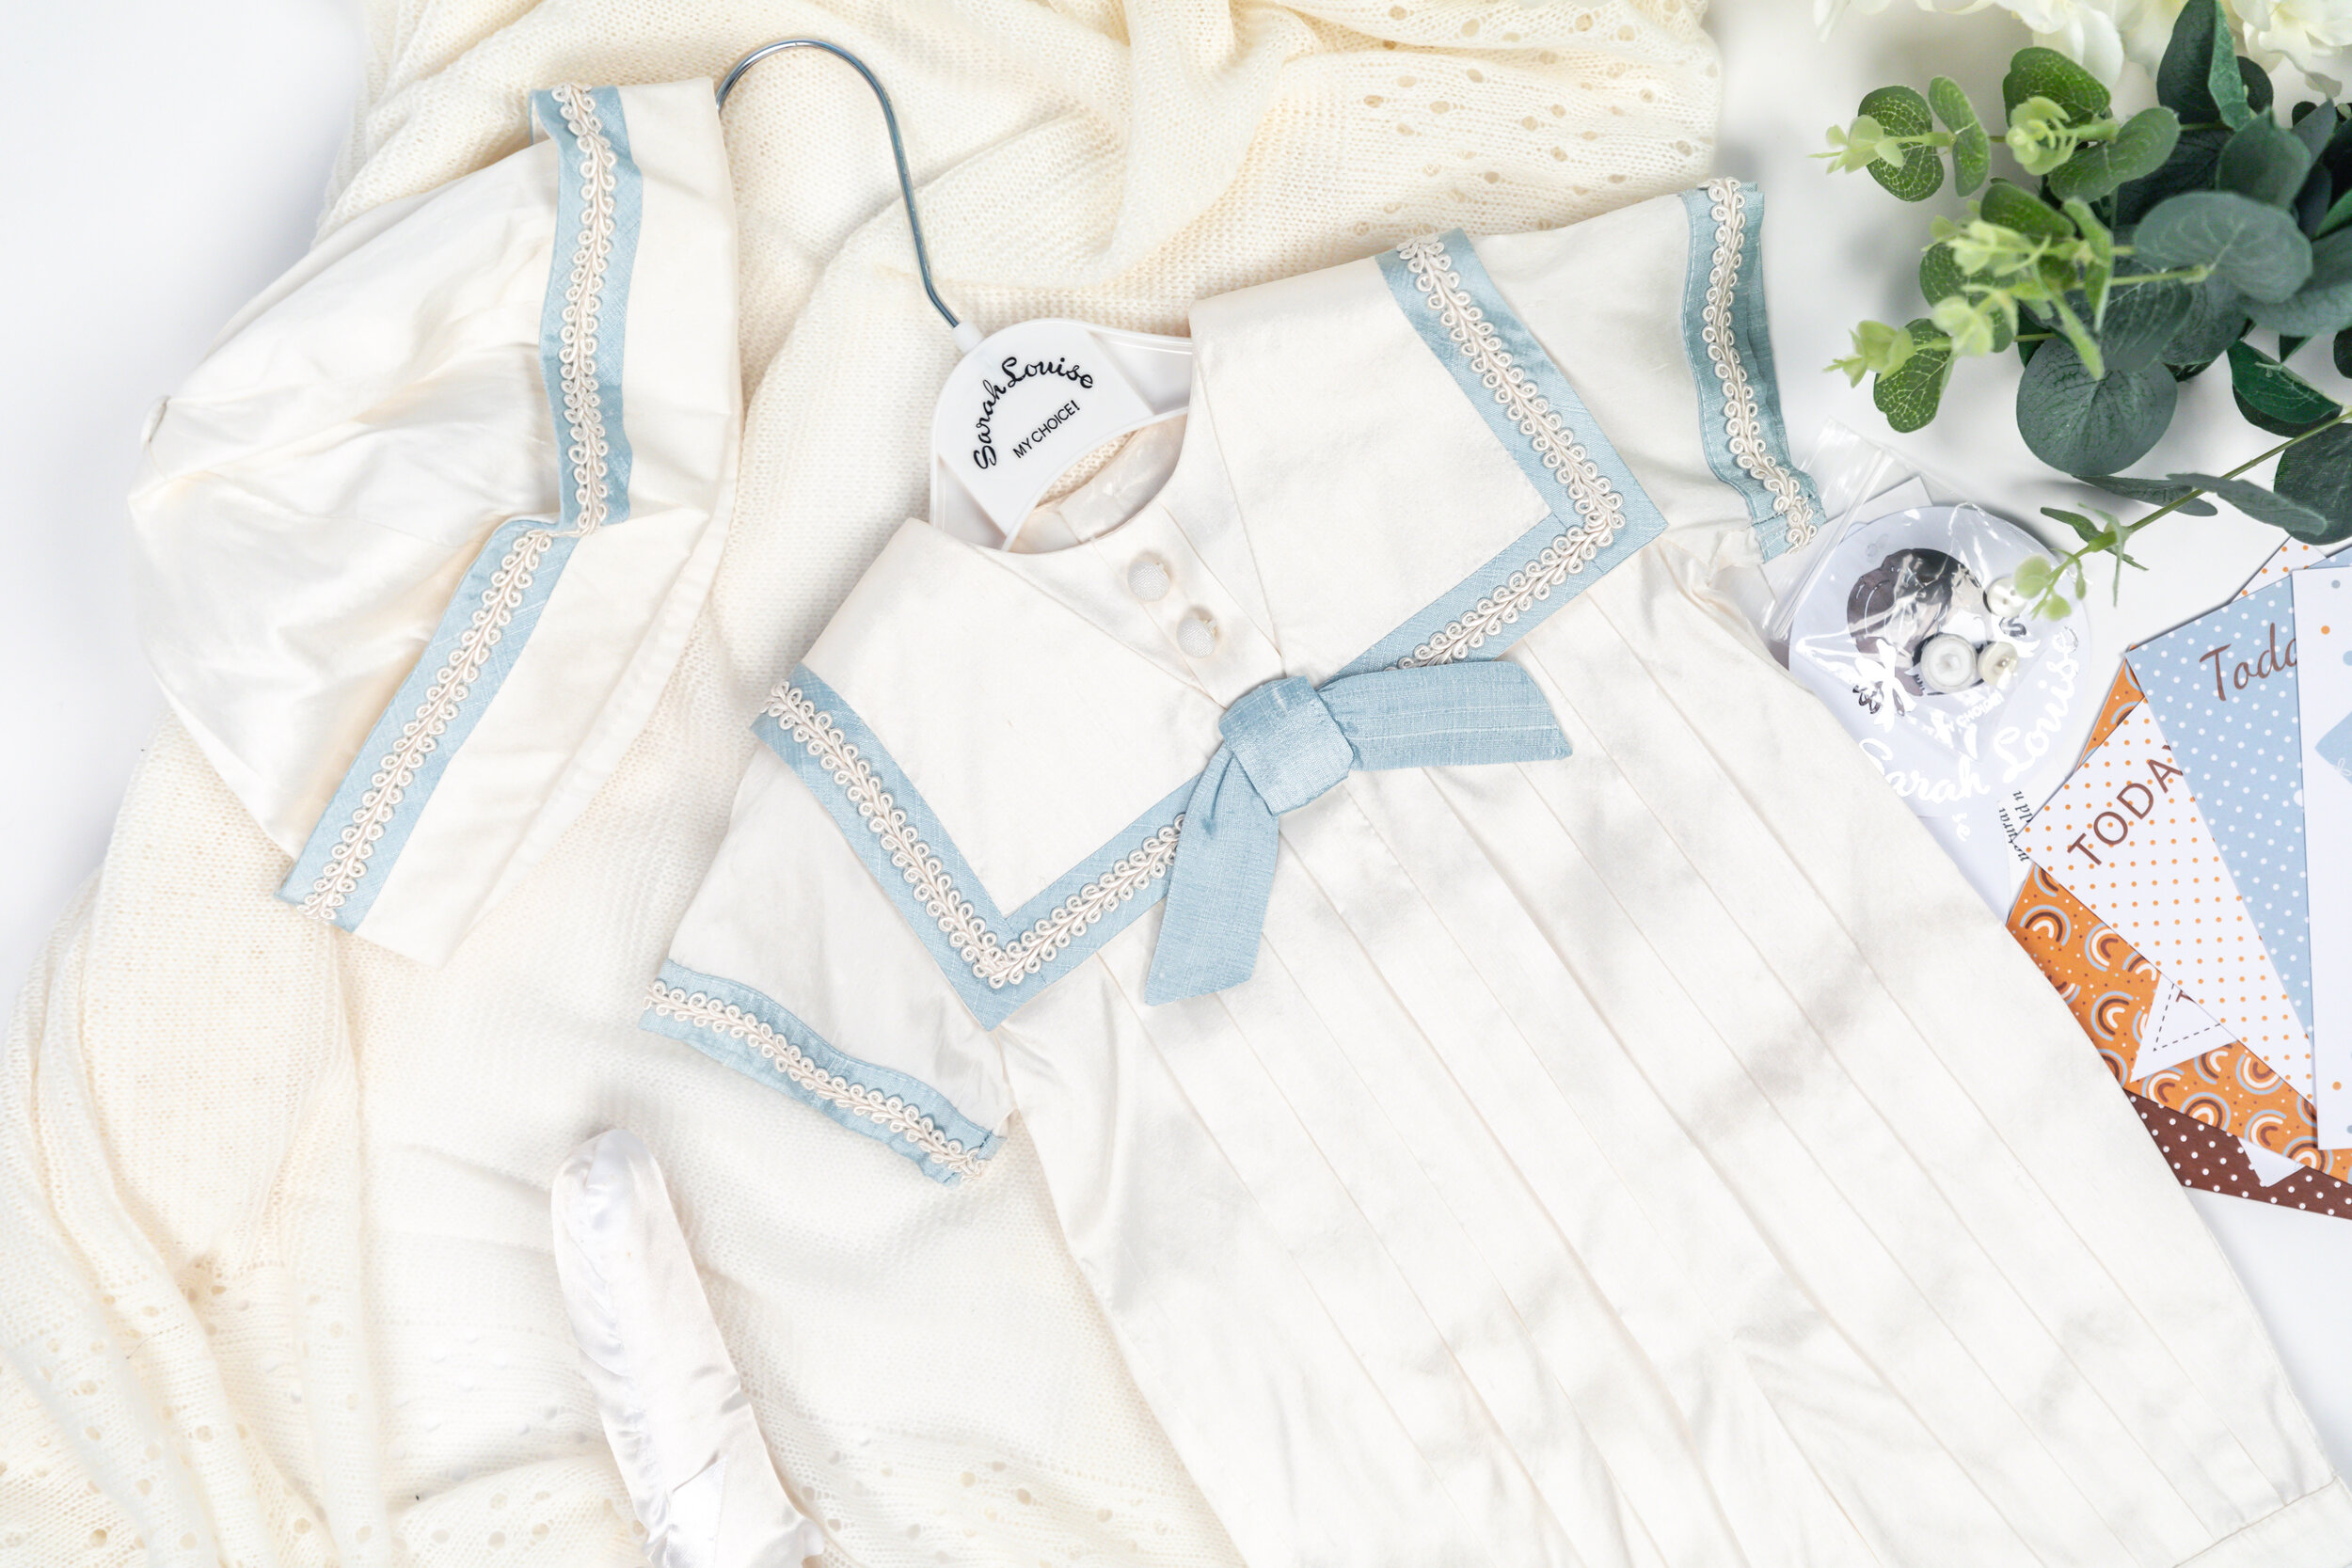
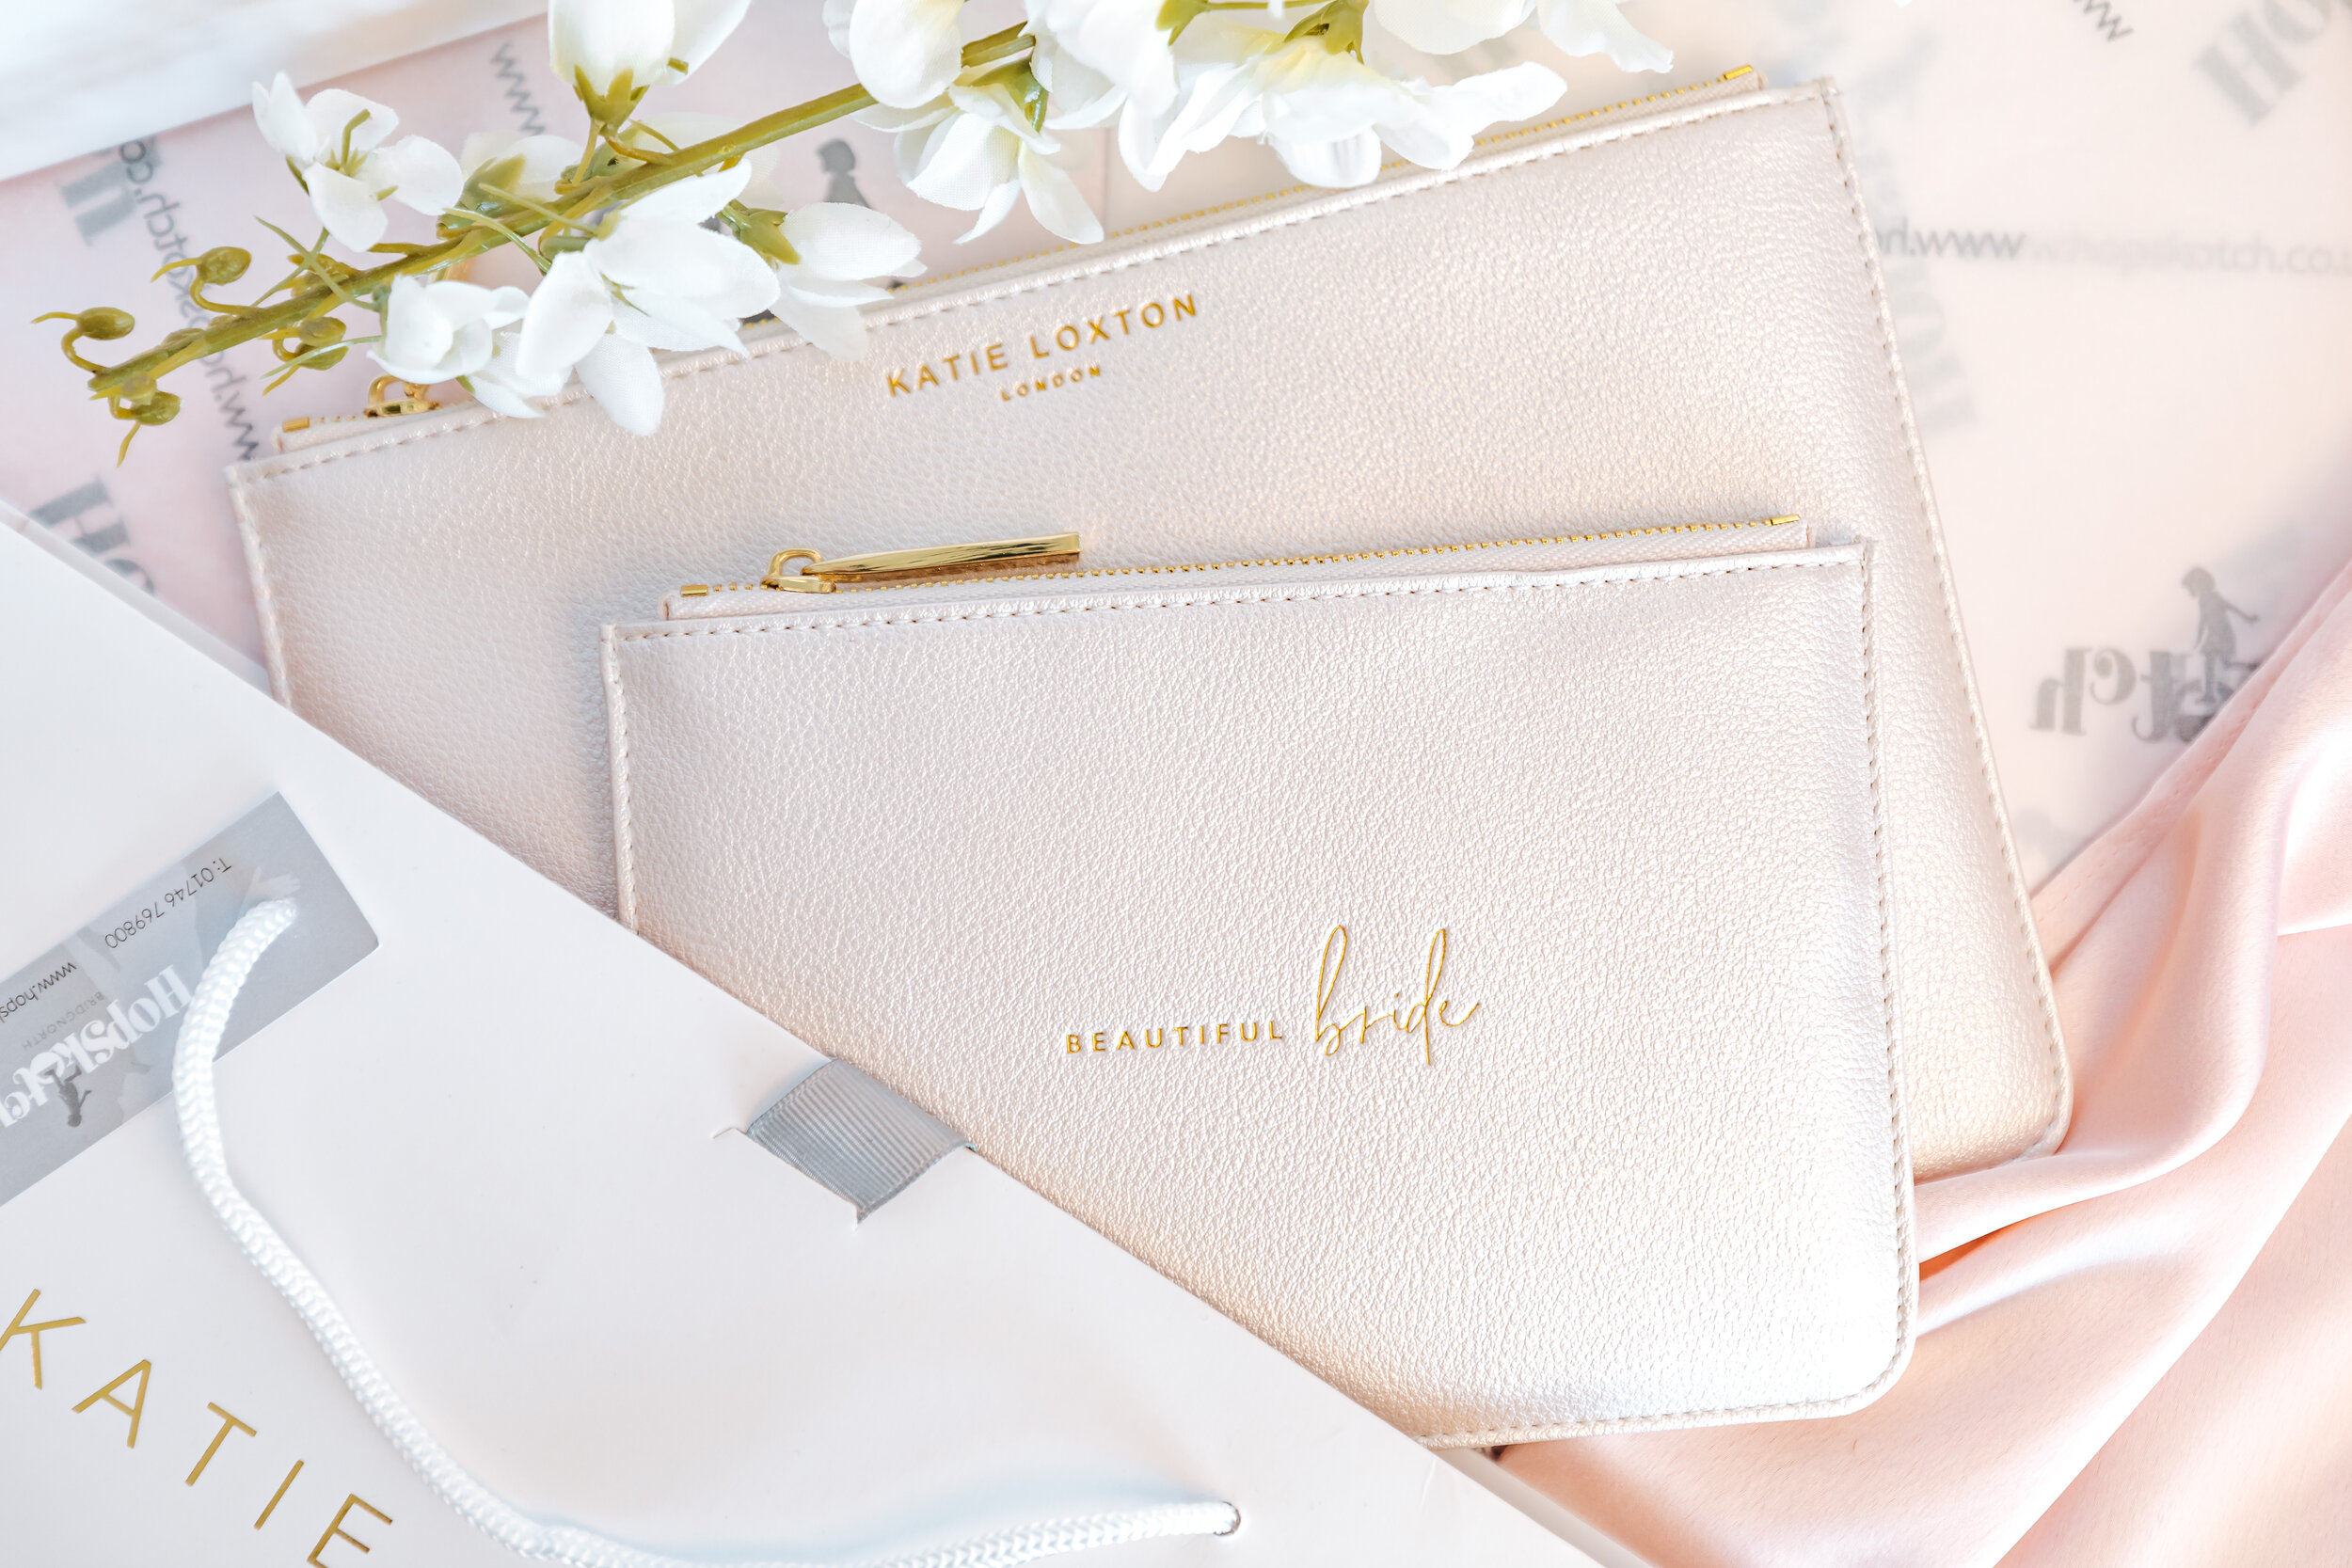
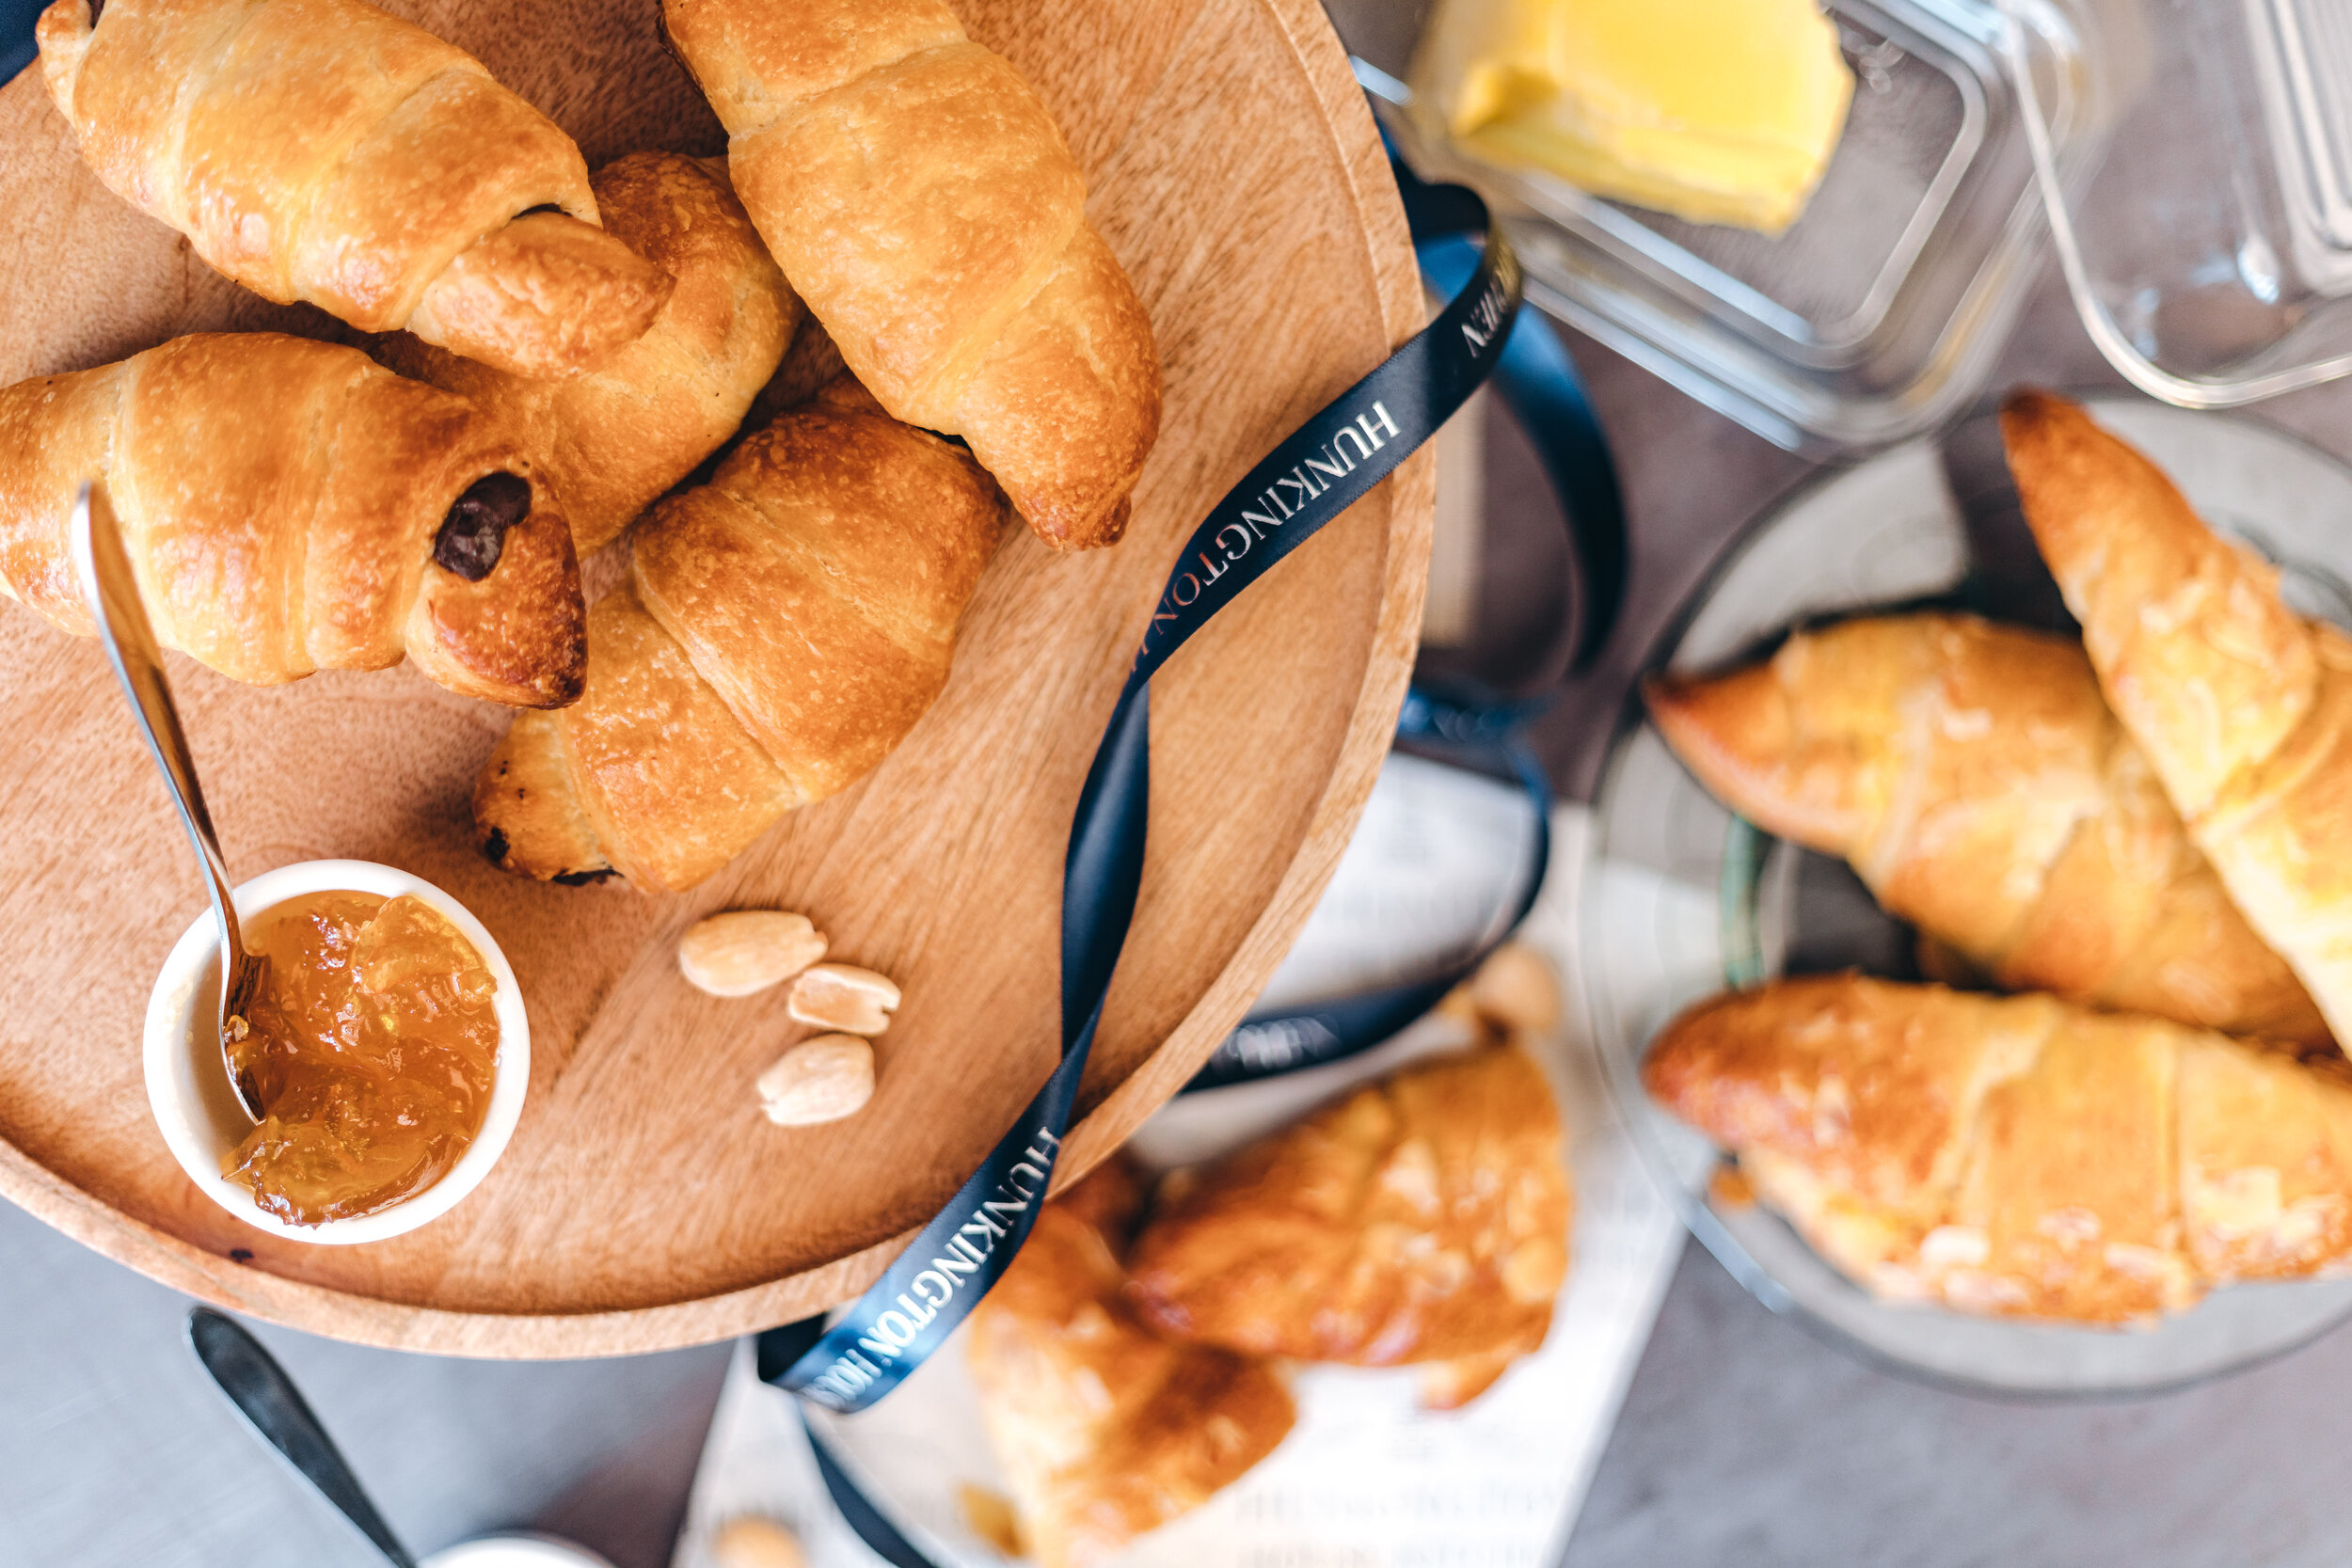
If you do want a styled shoot or a lifestyle shoot, have a good think about what kind of props you would like to include. Have a look around your house and pick out anything that might compliment your products. Think about your branding colours and how you could incorporate them using different items. The more props you have to choose from, the better! Consider items that relate to your products, but also general decorative items such as flowers, dried flowers, plants, candles, fabrics and coffee table books tend to work well with almost everything!
Backdrops
Ask your photographer what backdrop options they have available. Have a think about what colours, textures, what kind of surfaces you want to use. Think about whether you want to use your branding colours, or maybe you would prefer a plain white, minimal background. This is a really important factor as it can really change the overall feel of the images, so make sure to discuss this with your photographer!
Shot list
Once you have done all of the above, you should be ready to create a shot list. You can make this as detailed or as simple as you like, but it will be very useful to have. Note down any specific ideas you have in mind, think about where and how the images will be used (eg social media banners, website banners, thumbnails, printed media, adding graphics, etc), think about whether you want certain products on certain backdrops, whether you want flatlays, detailed shots, close ups etc. Discuss this with your photographer before the shoot to make sure you are both on the same page!
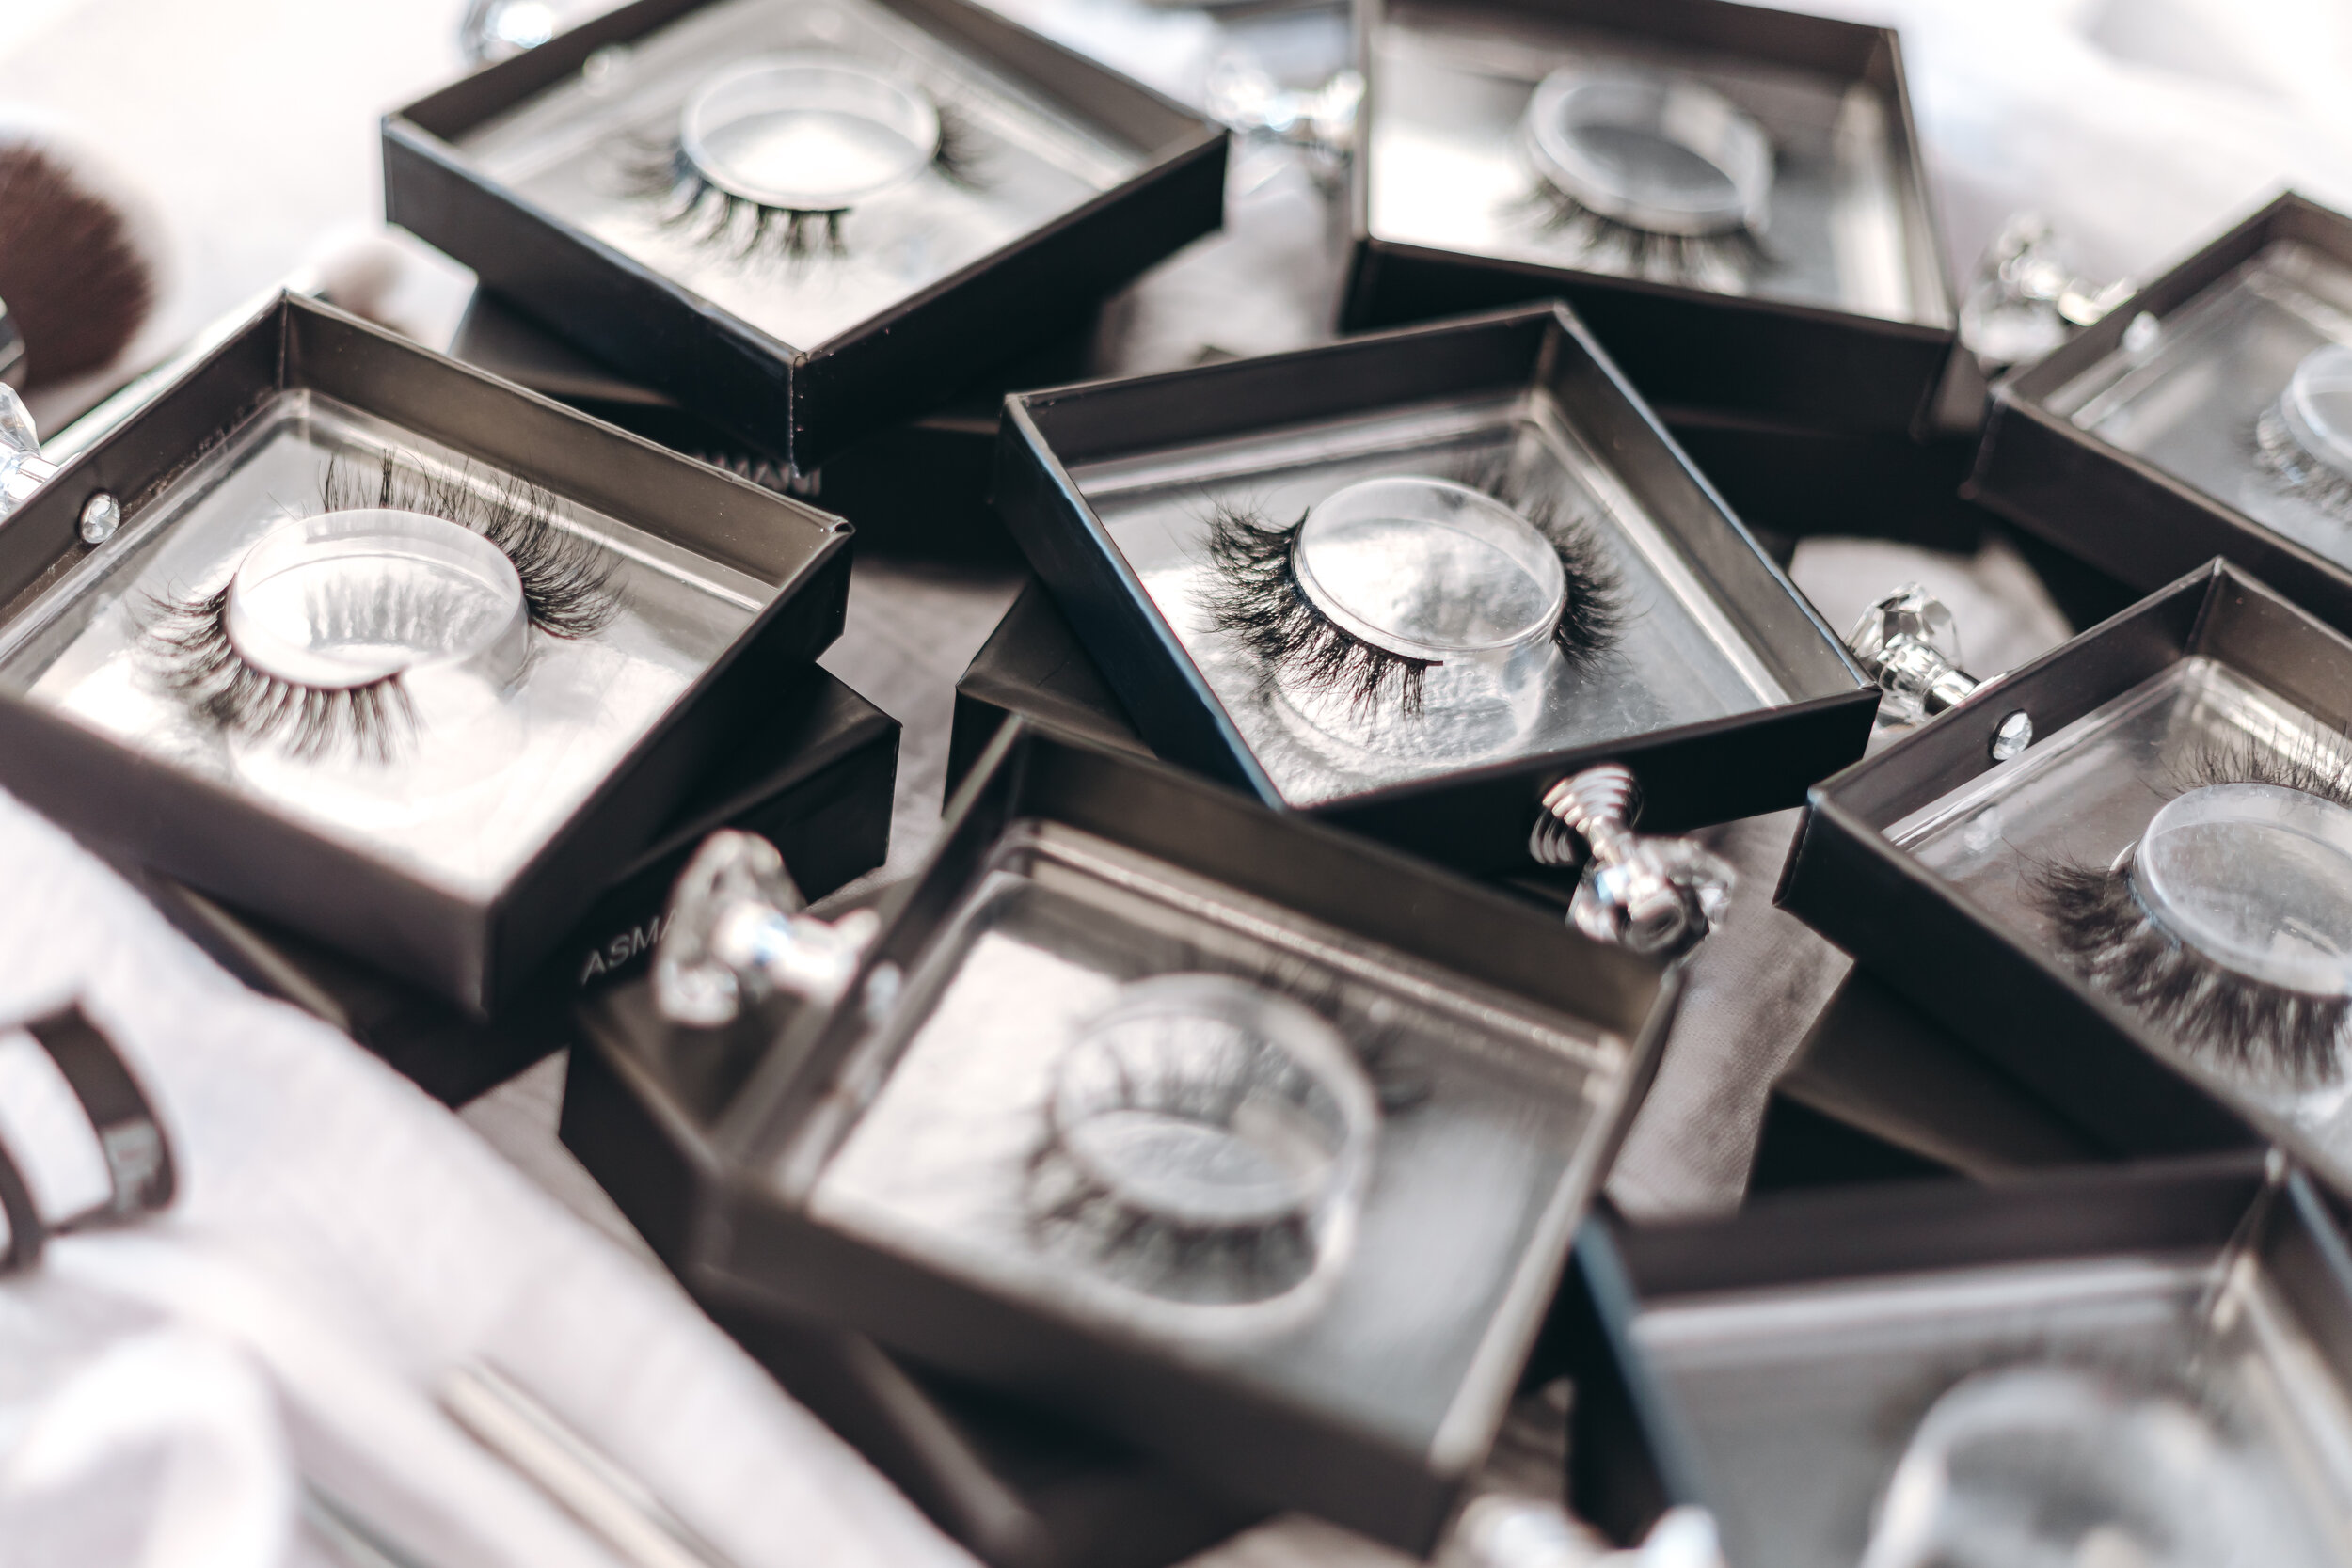
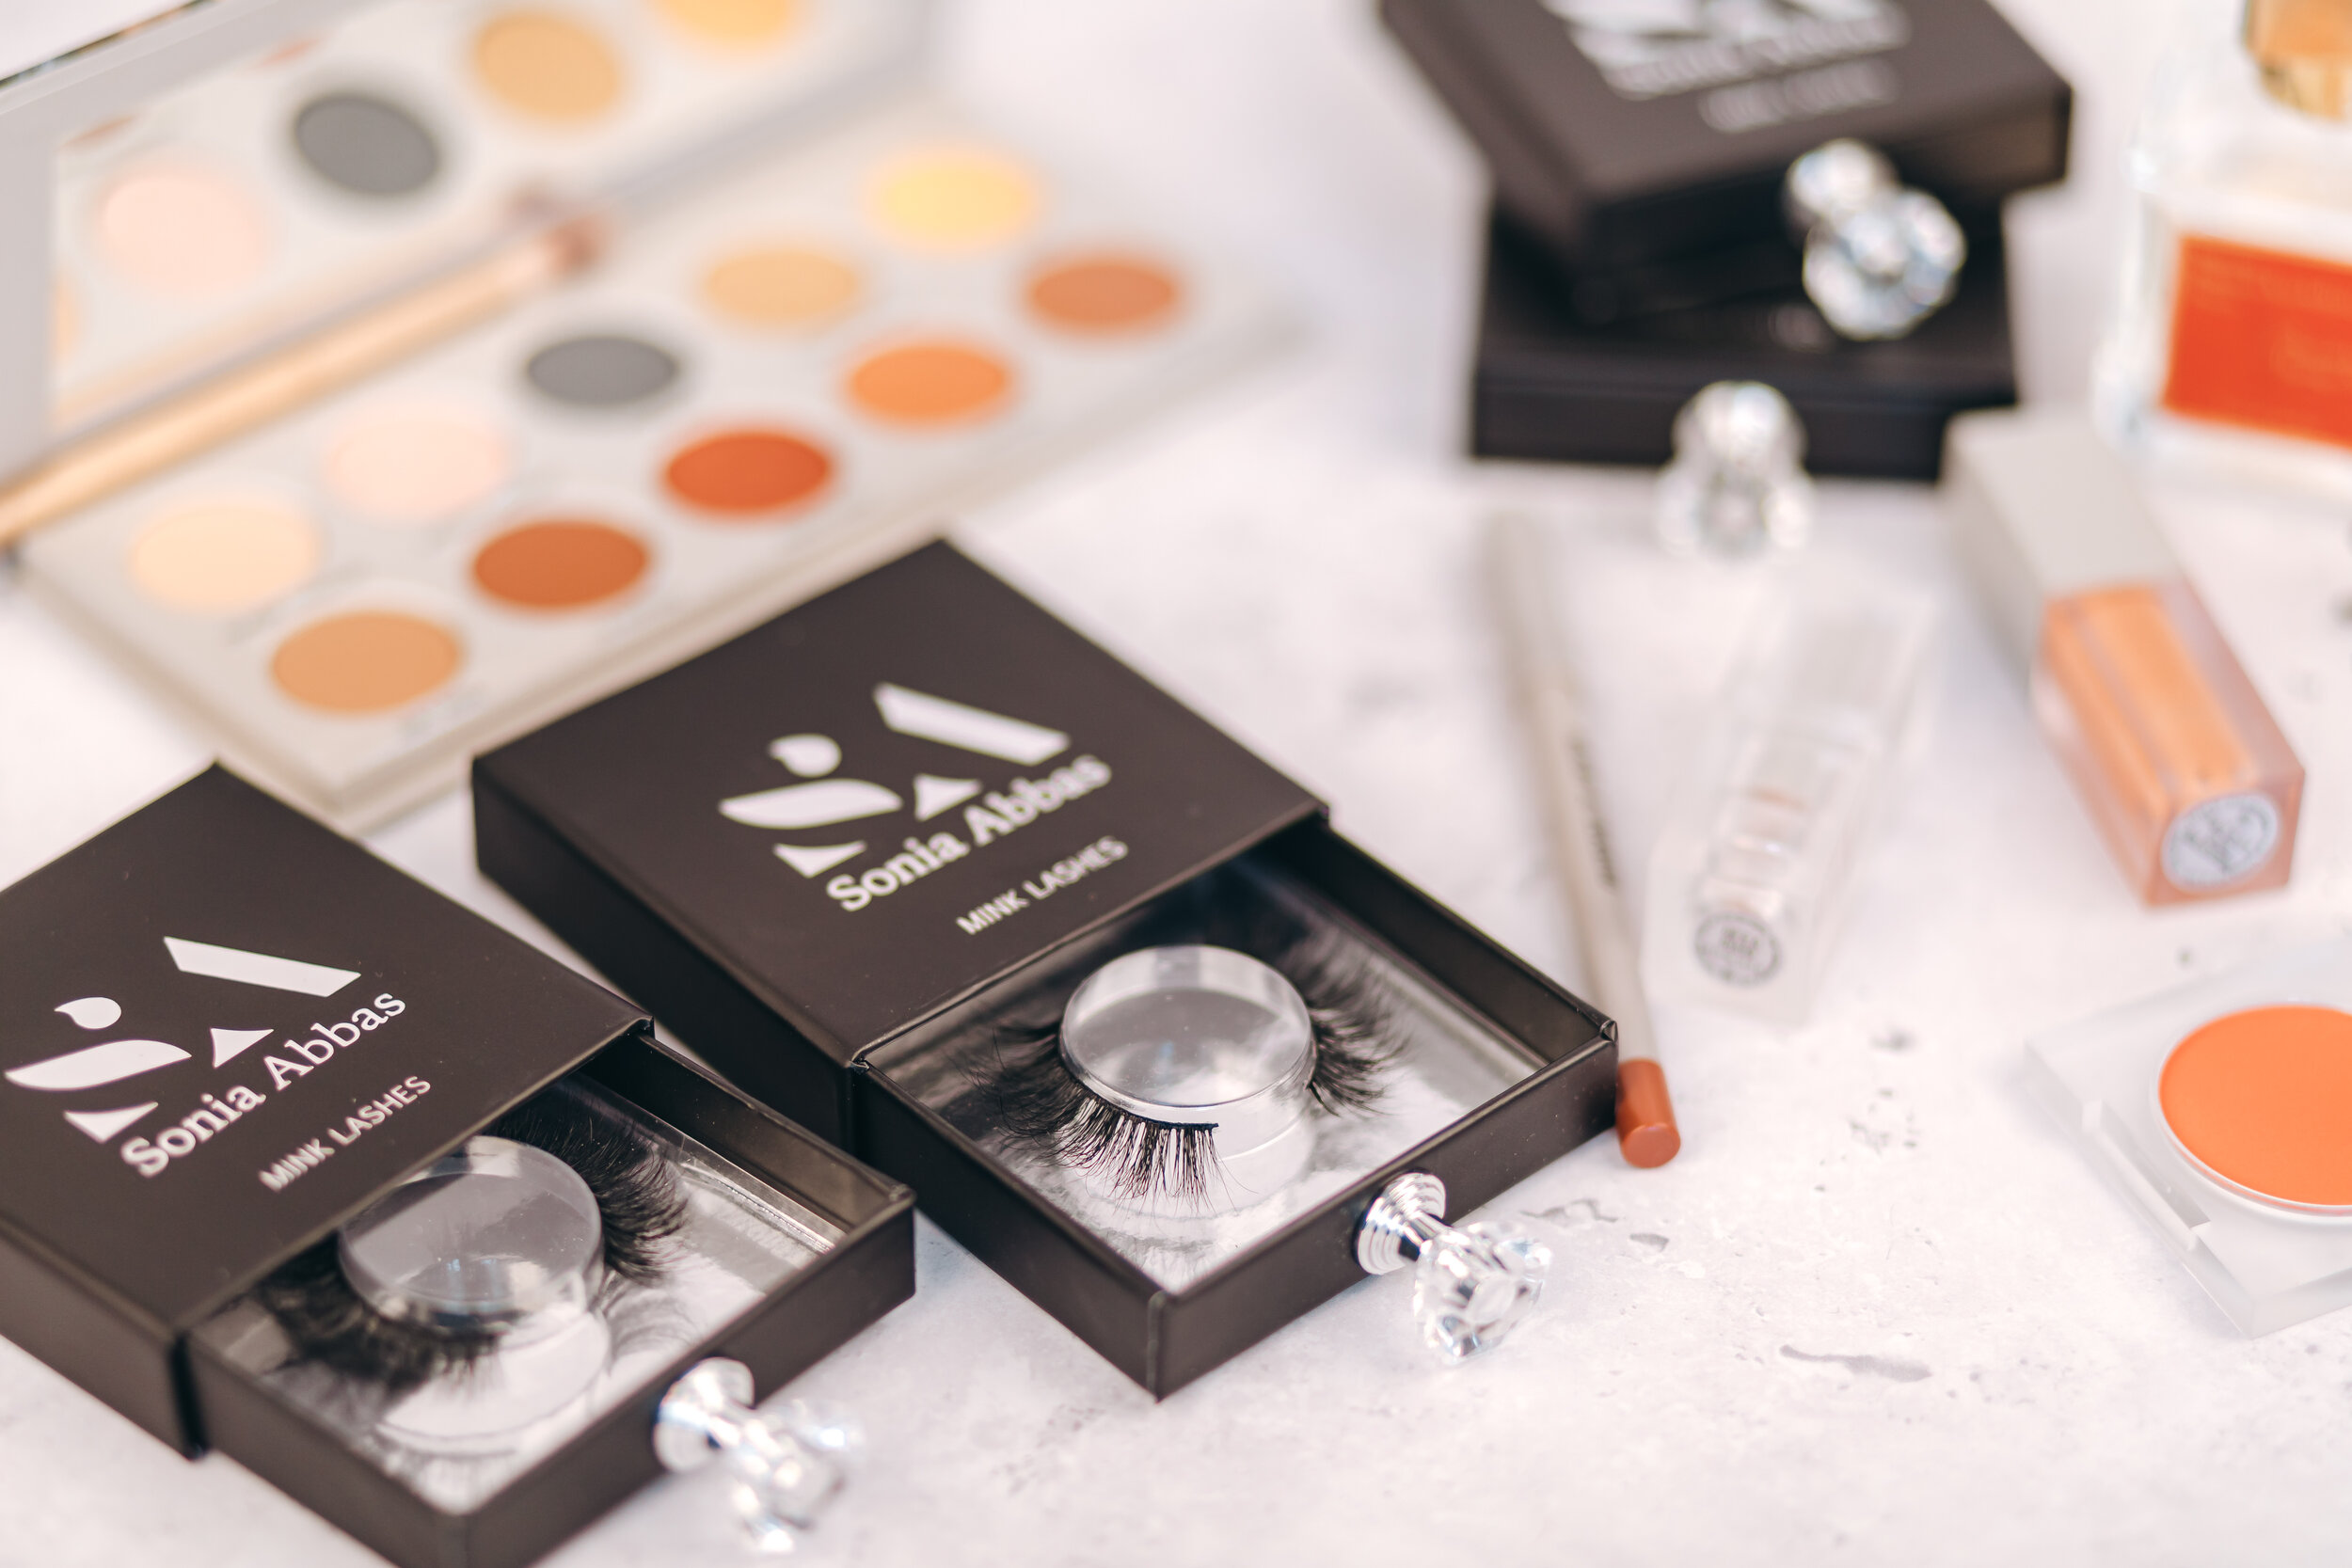
Prepare your products
Make sure you have all your products ready, cleaned and organised. Group together any products you need to be photographed together, and make a note of it for your photographer - write a brief if needs be! It is always handy to have multiples of each product to use as props or for repeat shots. Don’t forget to plan how and when the products will be delivered to the photographer, and make sure not to leave this until the last minute!


Hopefully these few tips will help you feel as prepared as possible for your photoshoot and ensure you get the very best results from it! If you are unsure where to start or about any of the planning process, or if you’d like to get the ball rolling and book a shoot, drop me an email or head over to my contact page now!